My cake lust strikes again! I'm steadily working down my list of weird cakes I've dreamed up, one month at a time. I'm still finding the whole process a wonderful stress reliever, giving myself over to entire days of crafting cakes. It demands my full attention and creativity and when I'm done, it's like waking up from the best meditation. Probably.
What am I saying? I don't meditate.
So, this particular cake went through several iterations in my mind, until I recently got around to watching the David Chang episodes of Mind of a Chef. One binge session later and I was buying freeze-dried corn, ring molds and acetate online and prepping to be the best Christina Tosi I could be.
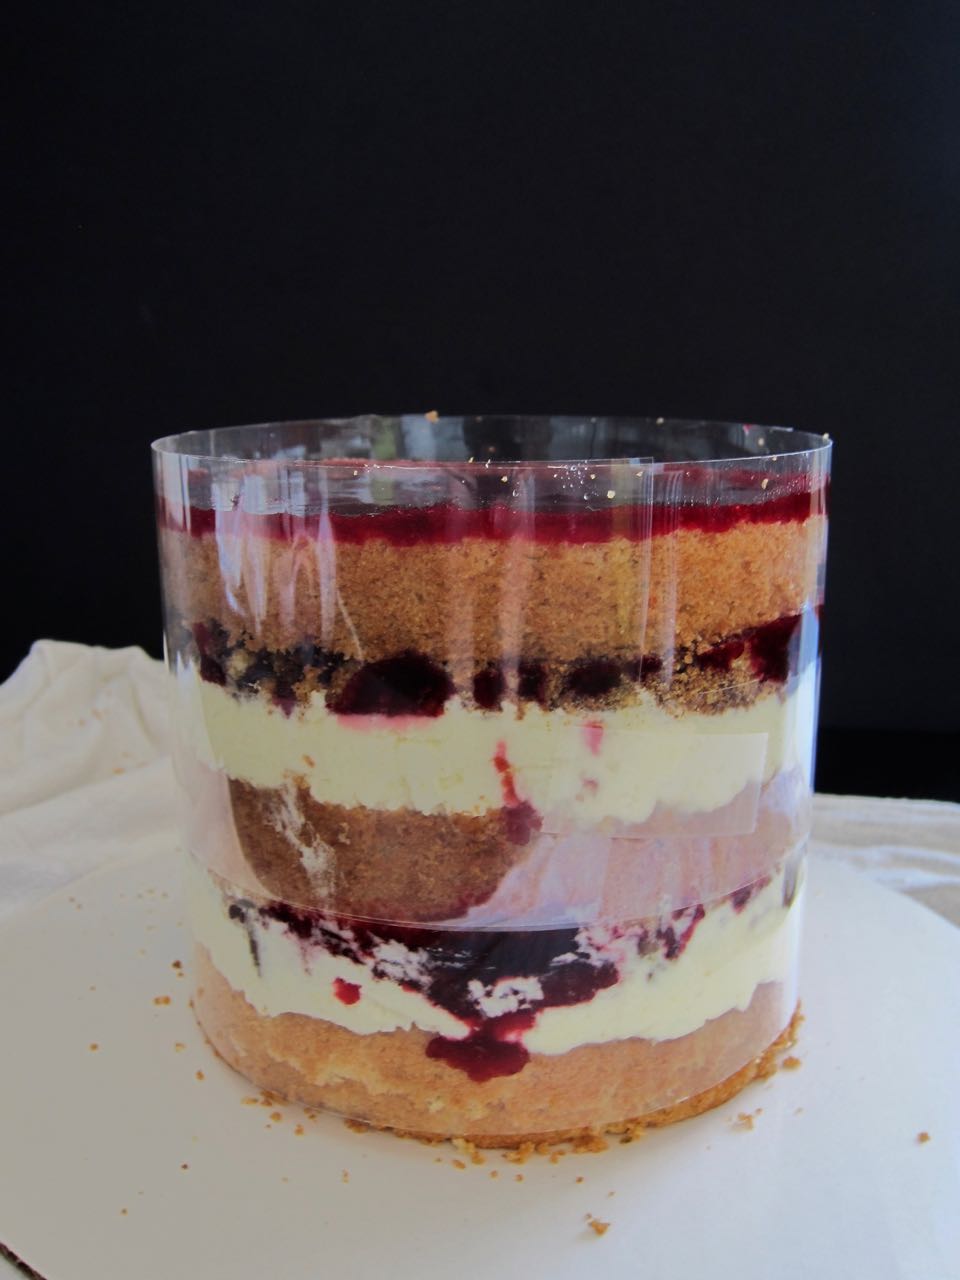
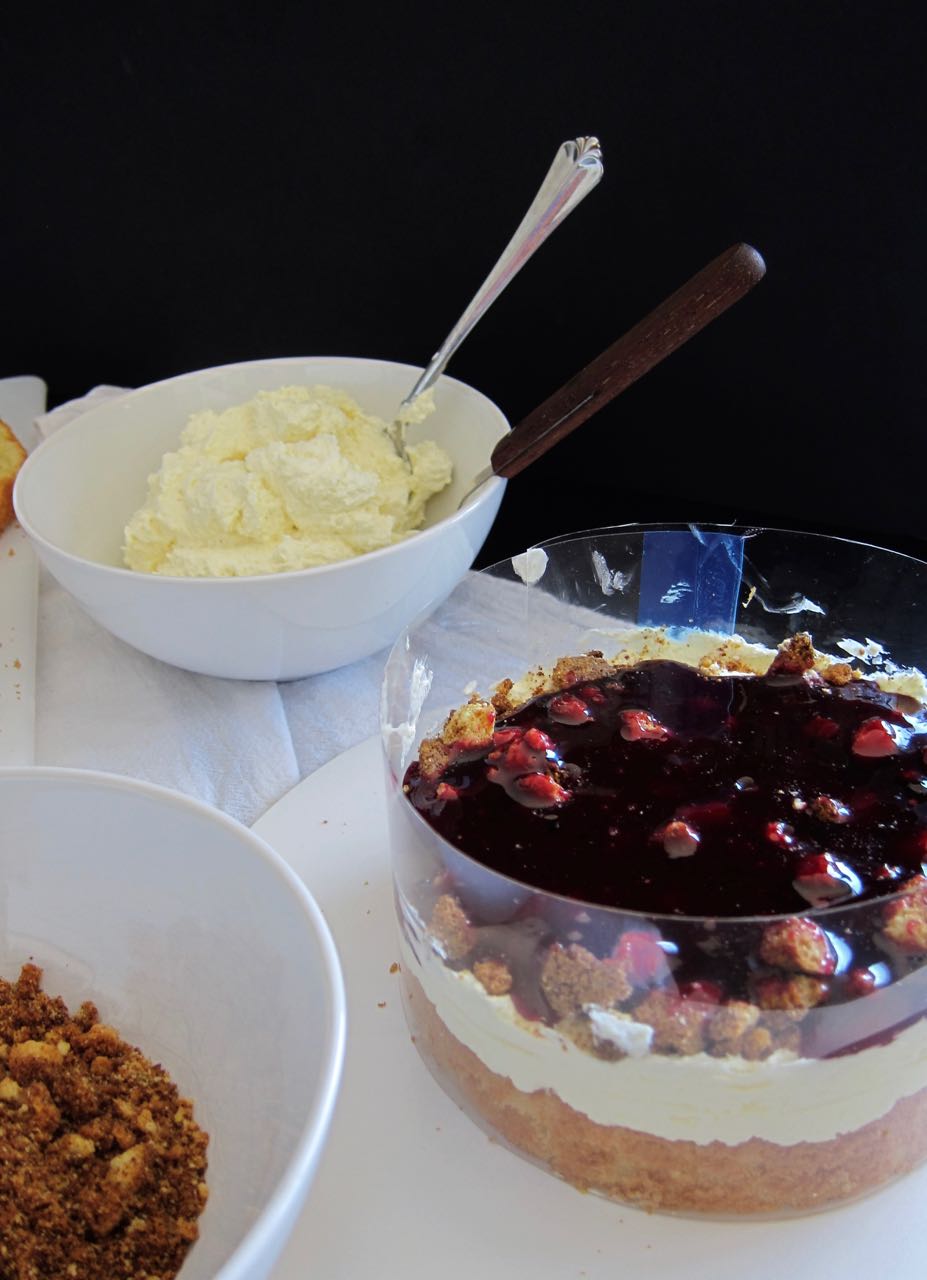
I don't think she'd hire me to work at Milk Bar based on this cake but I was pretty happy with it! I successfully turned cornmeal into a light and fluffy cake, freeze-dried corn into a super-stable whipped cream, and blackberries into, well, it definitely was more sticky goo than jam, but let's say jam. And after I stacked it all up and froze it, it didn't fall apart on me!
Best of all, I fed it to friends and they seemed to like it? Though they had had A LOT of wine at that point.
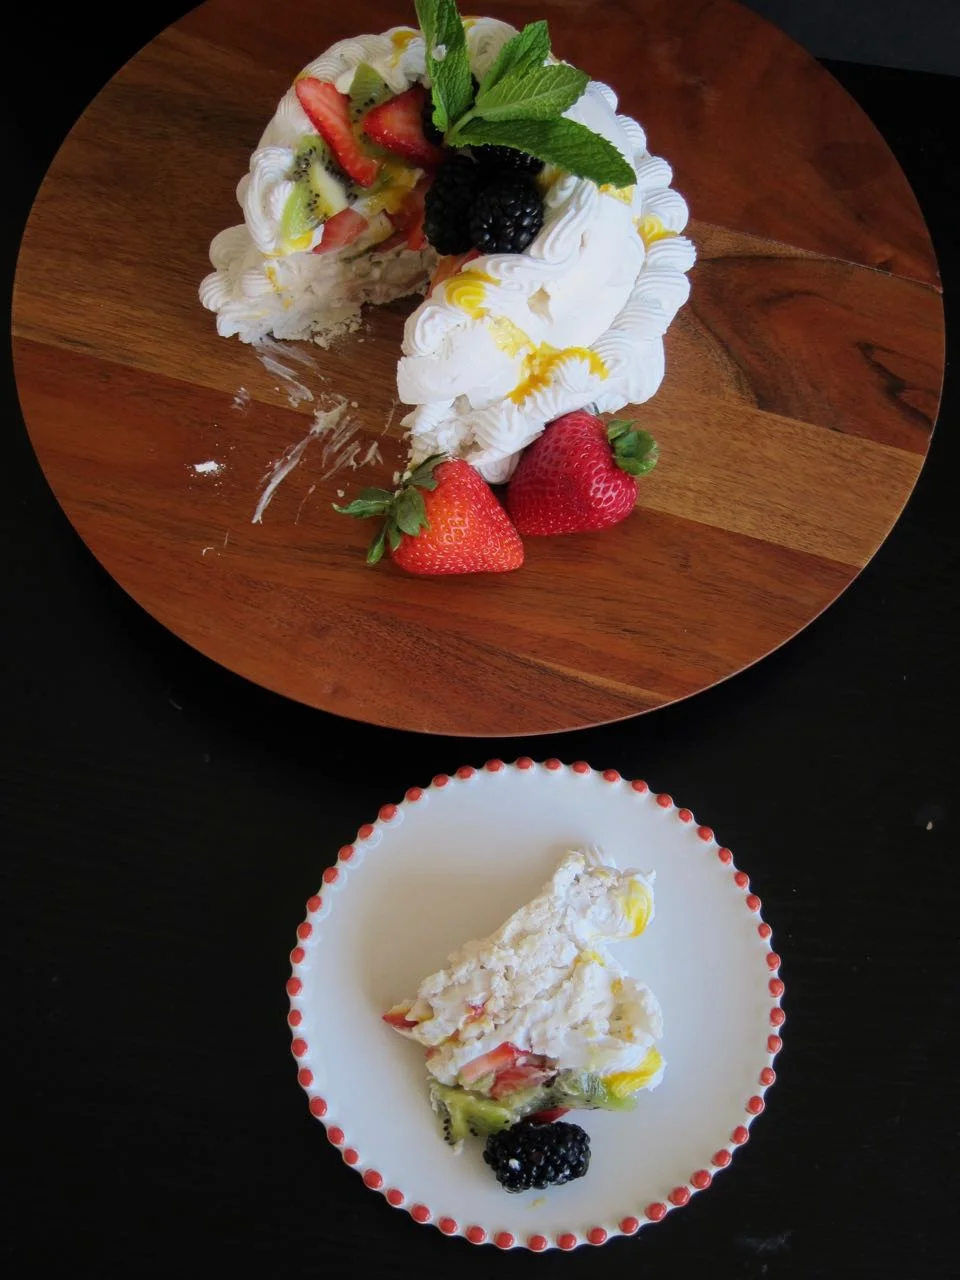
It's kind of all over the place, texture-wise, with fluffy cake and soft cream, sticky filling and crunchy cookies. And the flavor makes you think a little bit, coasting to the savory side of the spectrum through the cake and whipped cream layers, before slamming back to sweet with the blackberries. I was into it.


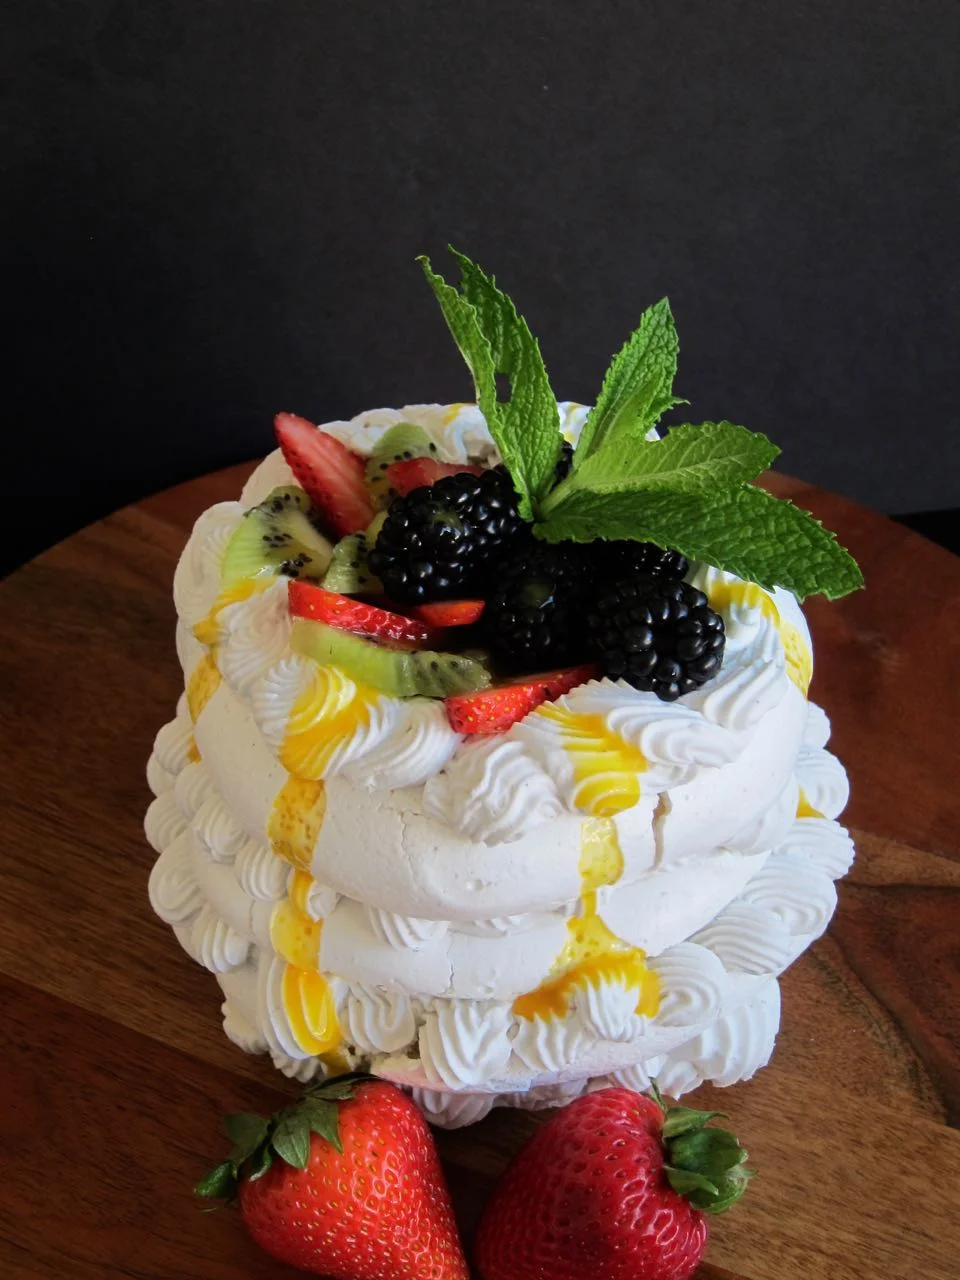
Sweet Corn, Blackberry and Lime Cake
Cake adapted from Alice Medrich, whipped cream adapted from Serious Eats, corn cookie crumbles adapted from Flour. There are a few components here, but cake and all fillings can be made ahead and stored before assembling.
For the Sweet Corn Cake:
- 1/2 cup sugar, divided
- 1/2 cup corn flour (masa)
- 1/4 cup white rice flour
- 1 tsp baking powder
- 1/2 tsp kosher salt
- 3 large egg yolks
- 1/4 cup grapeseed oil
- 2 limes, zested
- 4 large egg whites, room temperature
- 1/4 tsp cream of tartar
For the Corn Cookie Crunch:
- 1/2 cup unsalted butter, softened
- 1/2 cup sugar
- 1 tablespoon lime zest
- 1 egg
- 1/2 tsp vanilla extract
- 1 cup all purpose flour
- 1/4 cup cornmeal
- 1 tsp baking powder
- 1/4 tsp kosher salt
For the Corn Whipped Cream:
- 1/2 cup freeze dried corn
- 1/4 cup sugar
- 16 oz heavy whipping cream
For the Lime Blackberry Jam:
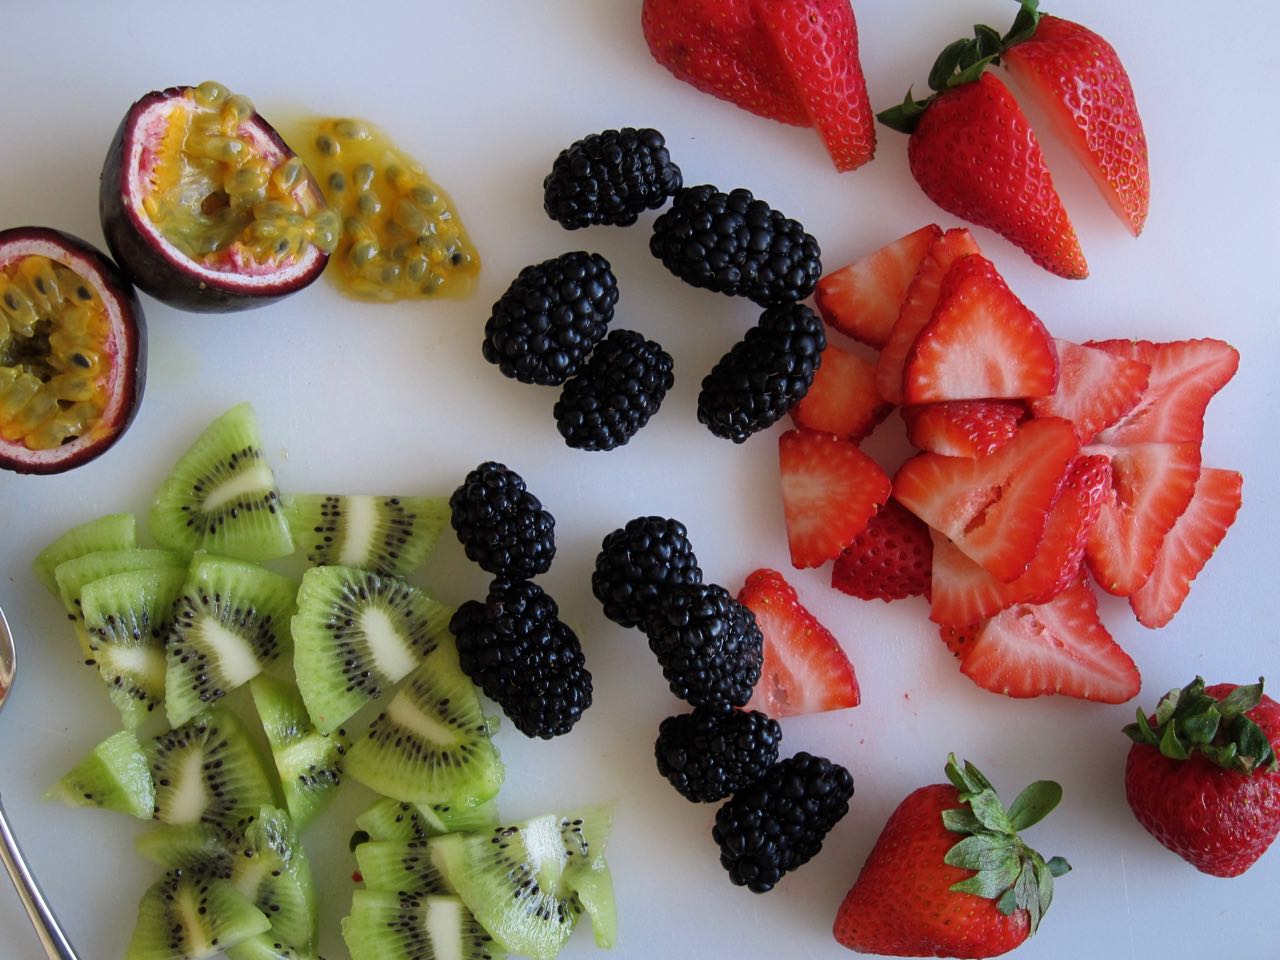
- 2 cups blackberries
- 1 1/2 cups sugar
- zest 1/2 lime
- 2 tbs lime juice
- Make the cake layers: Add the sugar to a large mixing bowl and set aside 1/8 cup of the sugar. Add flours to the bowl, with baking powder and salat, then add the egg yolks, oil and 1/4 cup water. Add lime zest to bowl and whisk all to incorporate. Set aside for 15 minutes to let the flours absorb the moisture. Heat oven to 325 degrees.
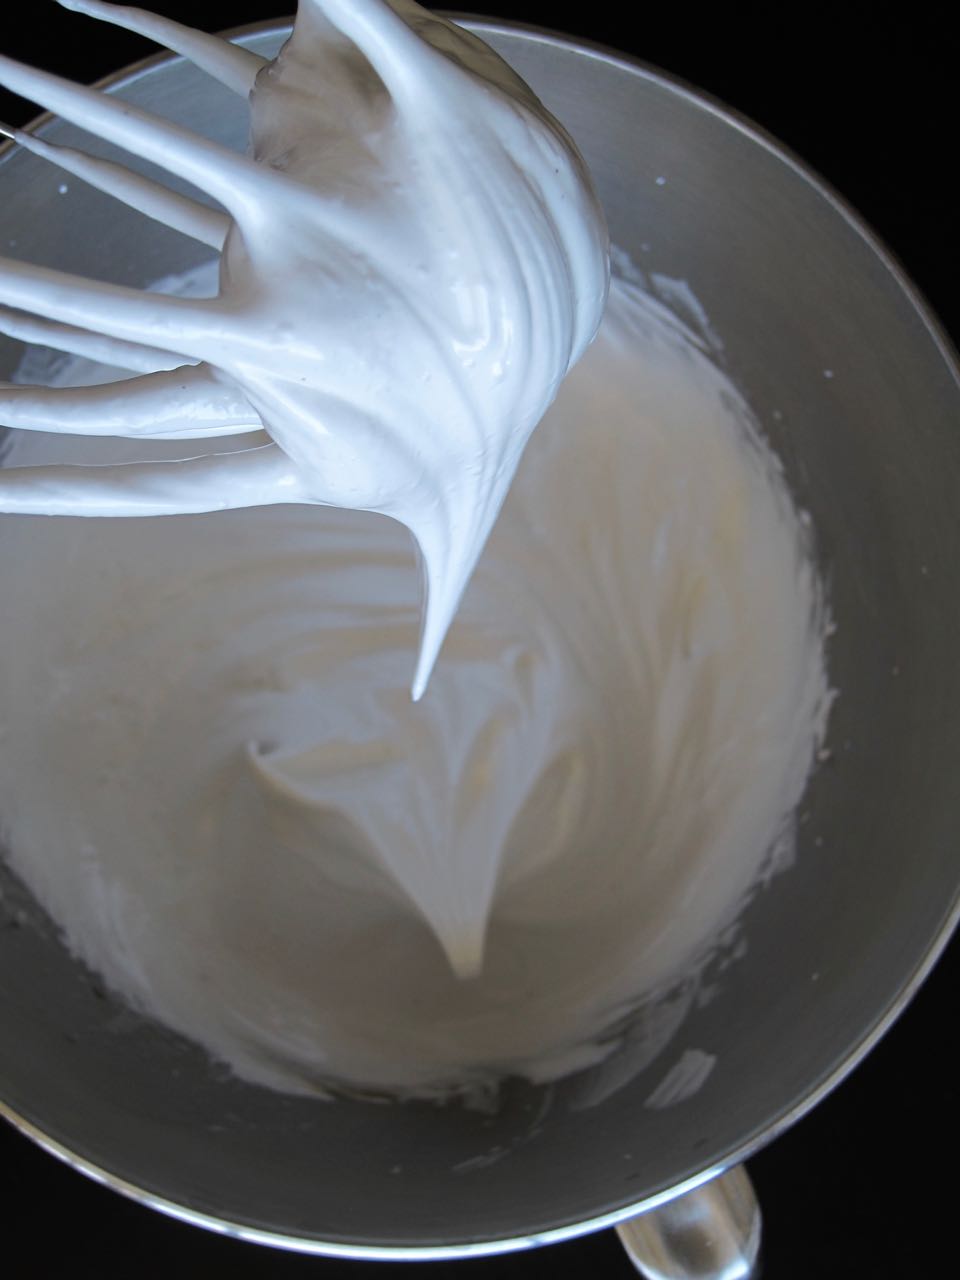
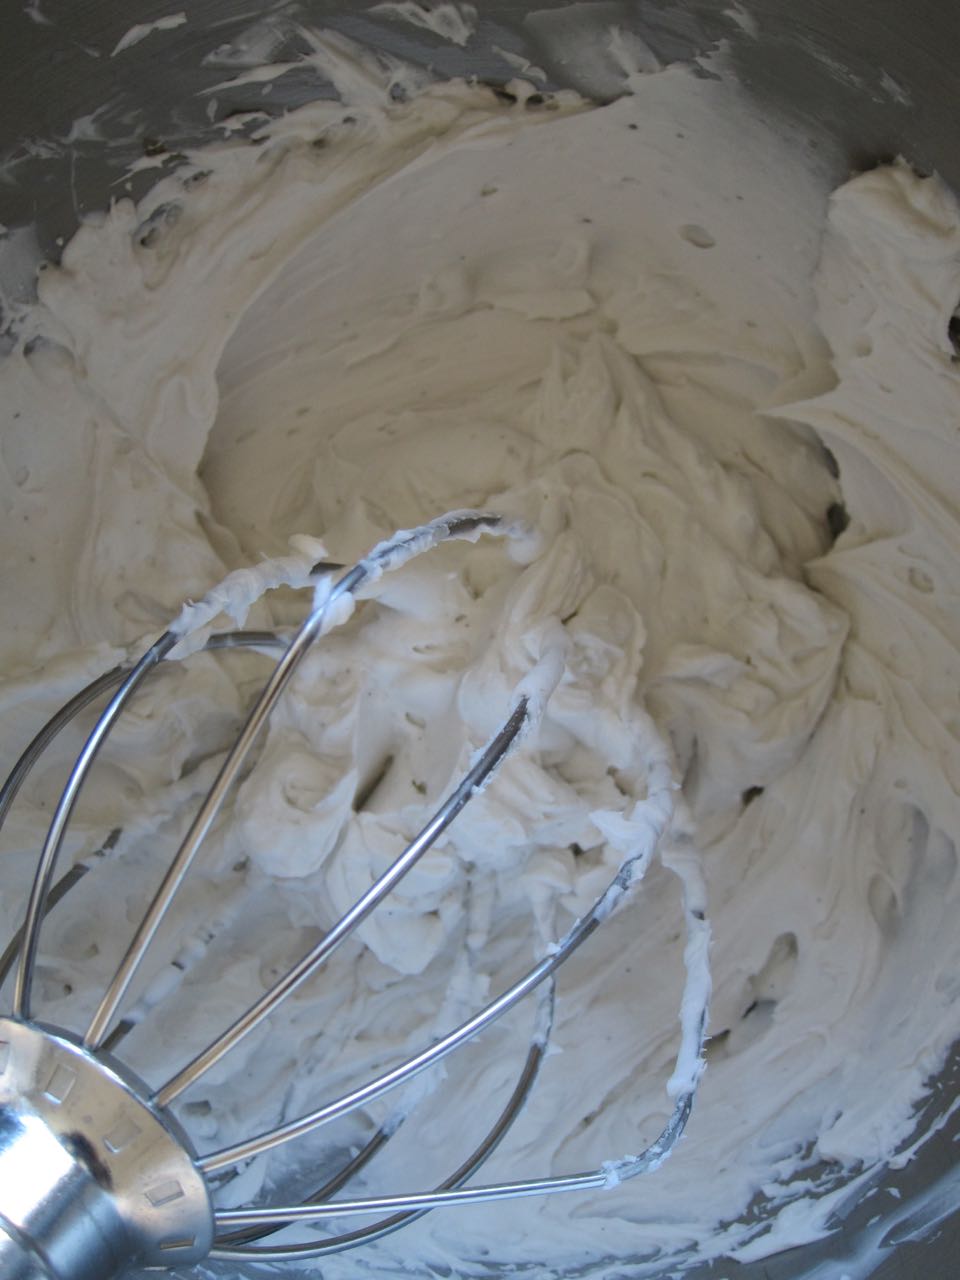
- Combine the egg whites and cream of tartar in the bowl of a stand mixer. Beat with the whist attachment on medium-high until creamy and white and the beater leaves a trail. Slowly sprinkles in the 1/8 cup sugar while beating on high speed until firm, not dry peaks form. If you aren't sure you are there yet it's better to under-beat the whites.
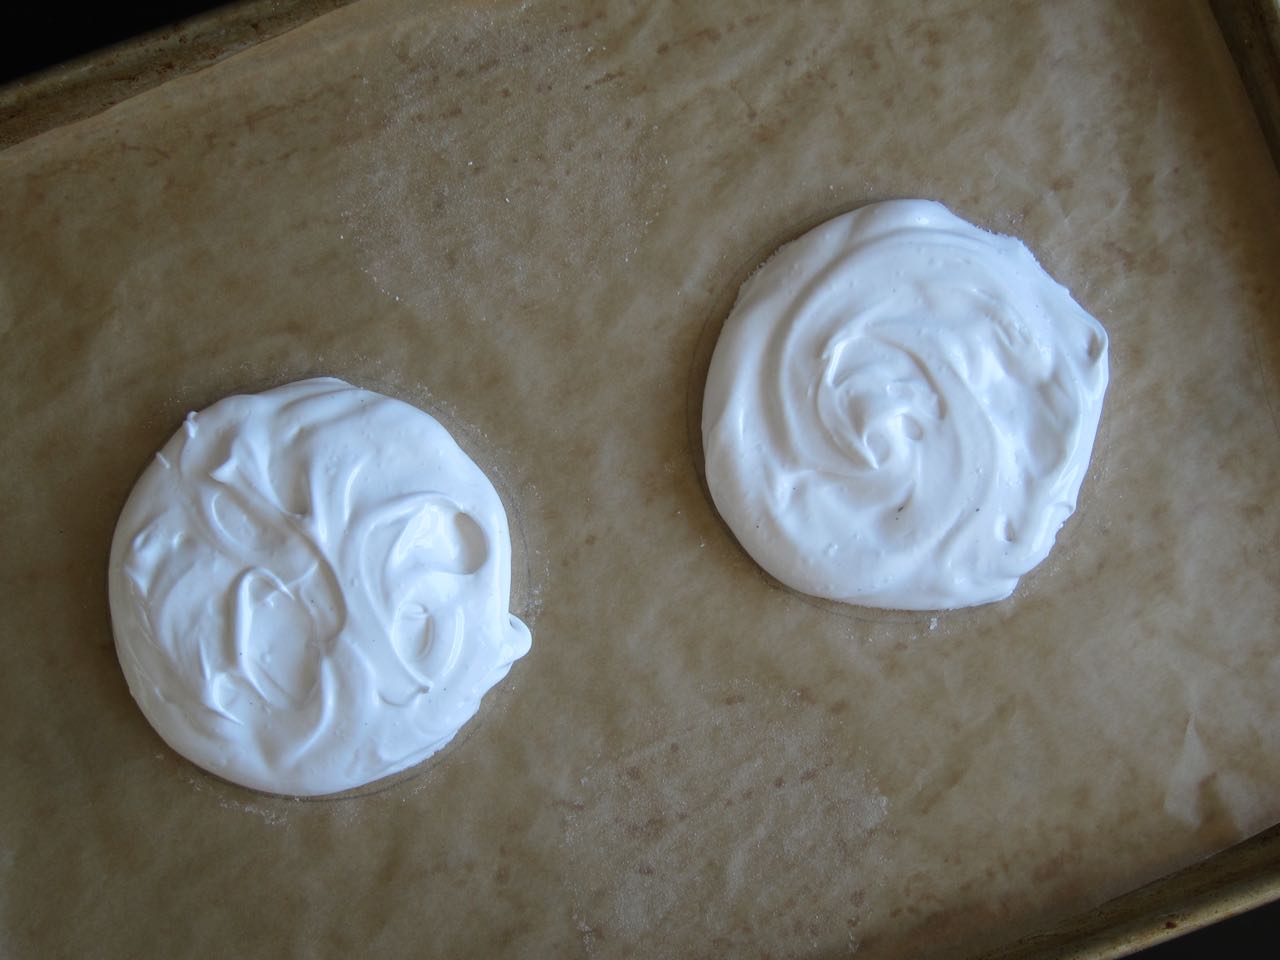
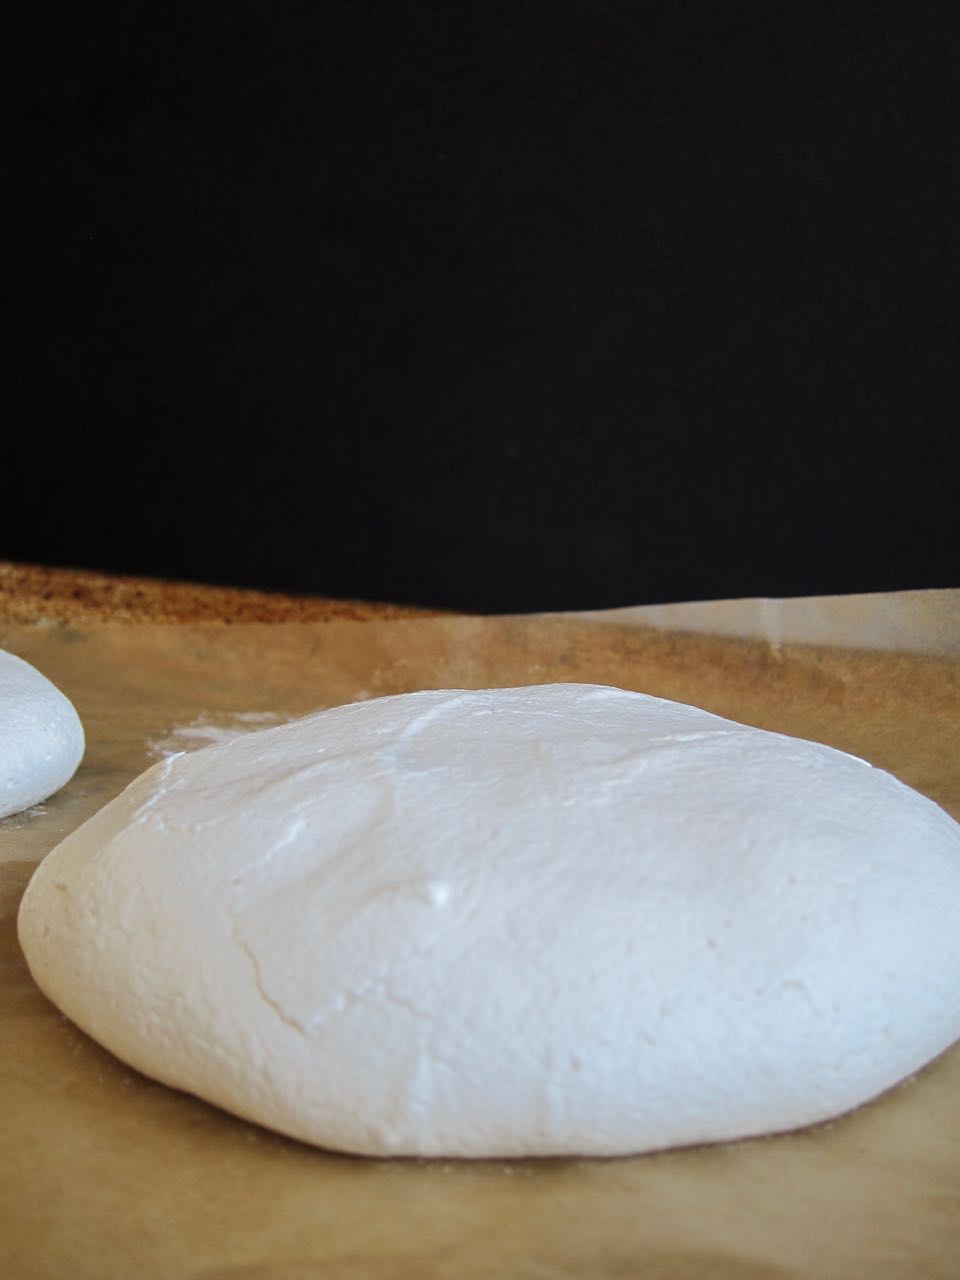
- Fold half of the whites into the batter to lighten it, then fold in the remaining egg whites until full blended. Divide batter between 3 ungreased 6-inch pans, and bake, checking for doneness at 15 minutes by inserting a toothpick in the middle (see note). If it comes out dry, the cake is done, otherwise bake a few minutes more. When done, place pans on a cooling rack and slide a thin knive or icing spatula around the sides to loosen, then let cool completely in pans. When cool, remove from pans for assembly or to store in fridge or freezer wrapped tightly in plastic.
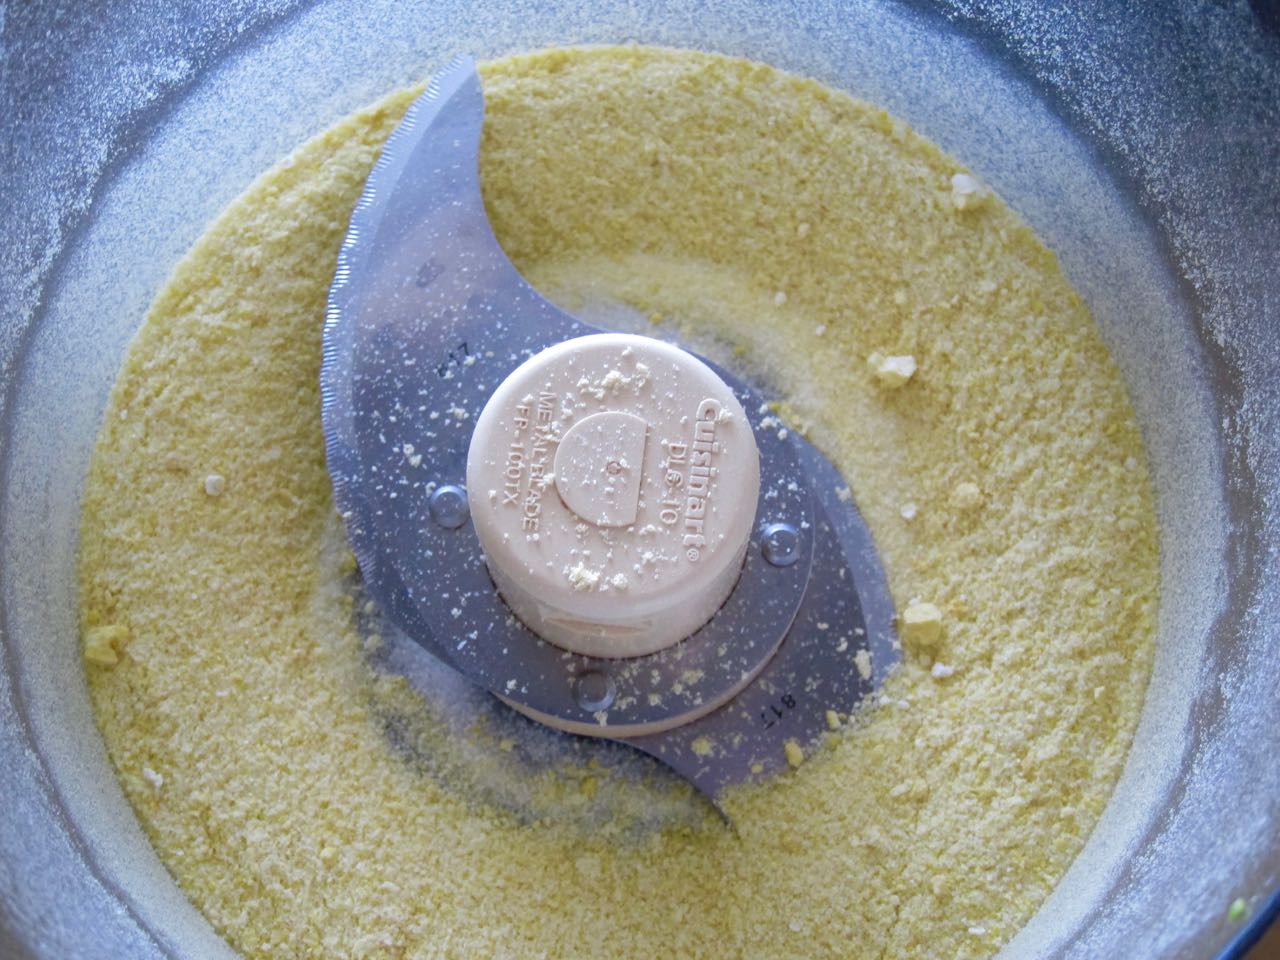
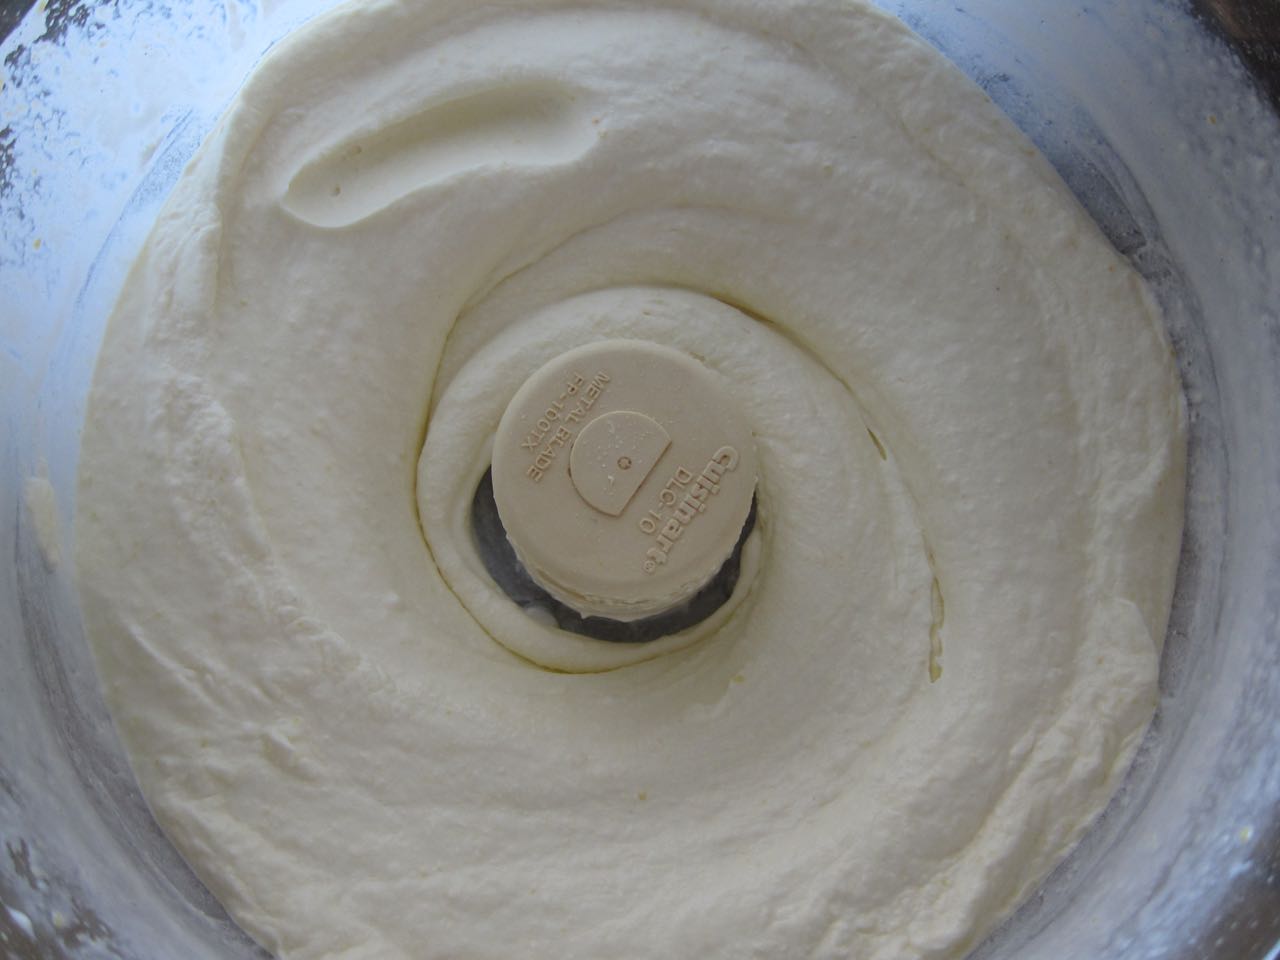
- Make the corn whipped cream: In a food processor, grind the corn and sugar together for 1 minute, until fine. Add the heavy cream and stir around a bit with a fork to break up any chunks of the corn sugar mixture. Pulse together for up to 2 minutes, until thick, being very careful not to cross the line from thick whipped cream to butter. If you aren't sure, it's best to stop and finish with a mixer. Transfer to an airtight container and chill until needed.
- Make the corn cookie crumbles: Heat oven to 350 degrees. In the bowl of a stand mixer, rub together the sugar and the lime zest. Add the butter and cream together on medium speed for 5 minutes, scraping down the sides as needed. Add eggs and vanilla and beat for 2-3 more minutes, until combined, again scraping the bowl as needed.
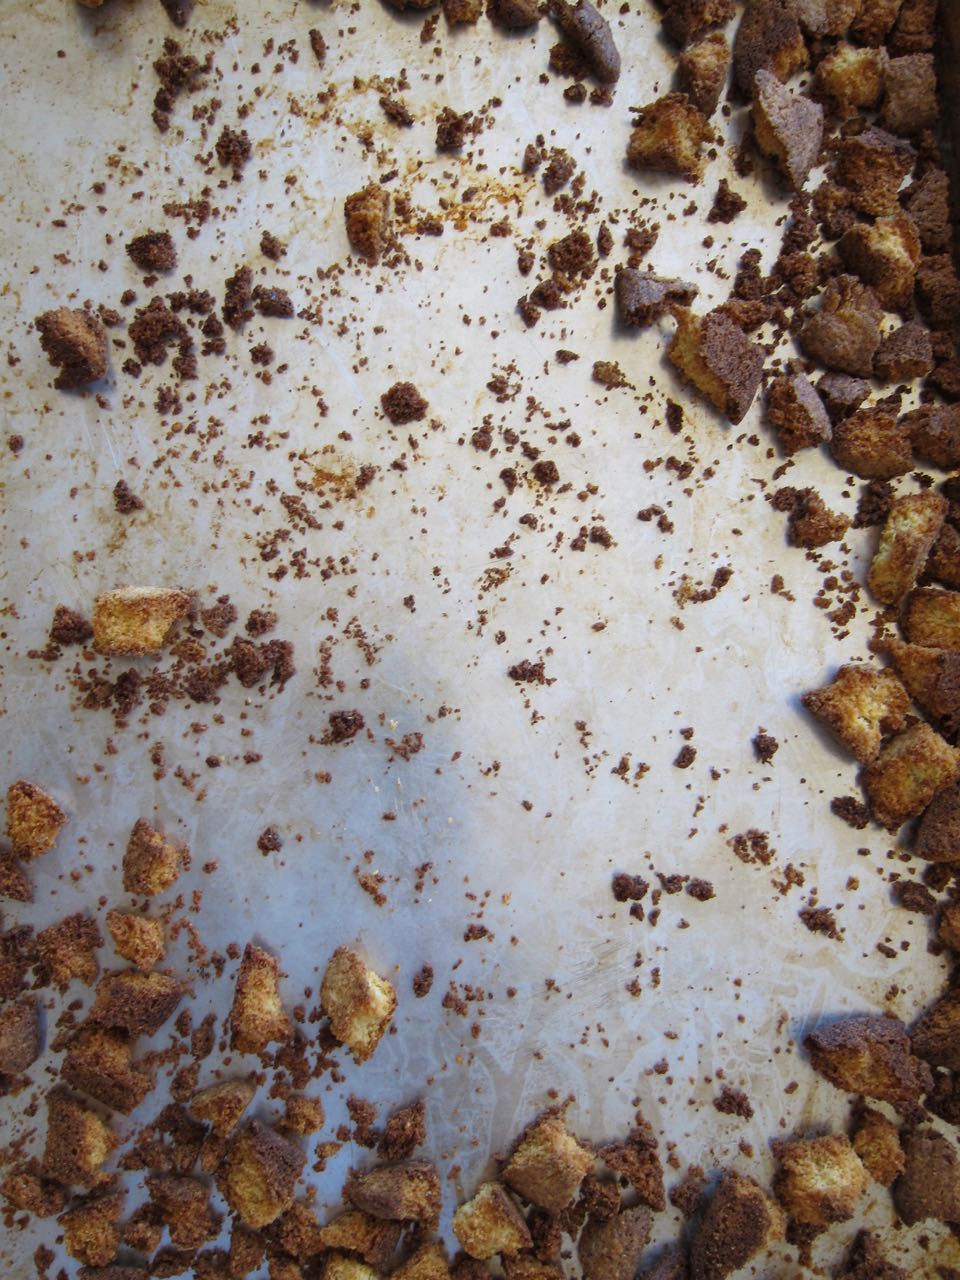
- Whisk together flour, cornmeal, baking powder and salt in a small bowl, then beat into the mixture at low speed until completely combined. Drop by 1/4 cup spoonfuls onto a parchment lined baking sheet and bake 15-20 minutes, until slightly browned around the edges. Let cool a bit, then break up a few of the cookies into a rough crumble. Spread out on a baking sheet and toast for 10 minutes, until browned and crunchy. Enjoy the remaining cookies as a snack for the baker!
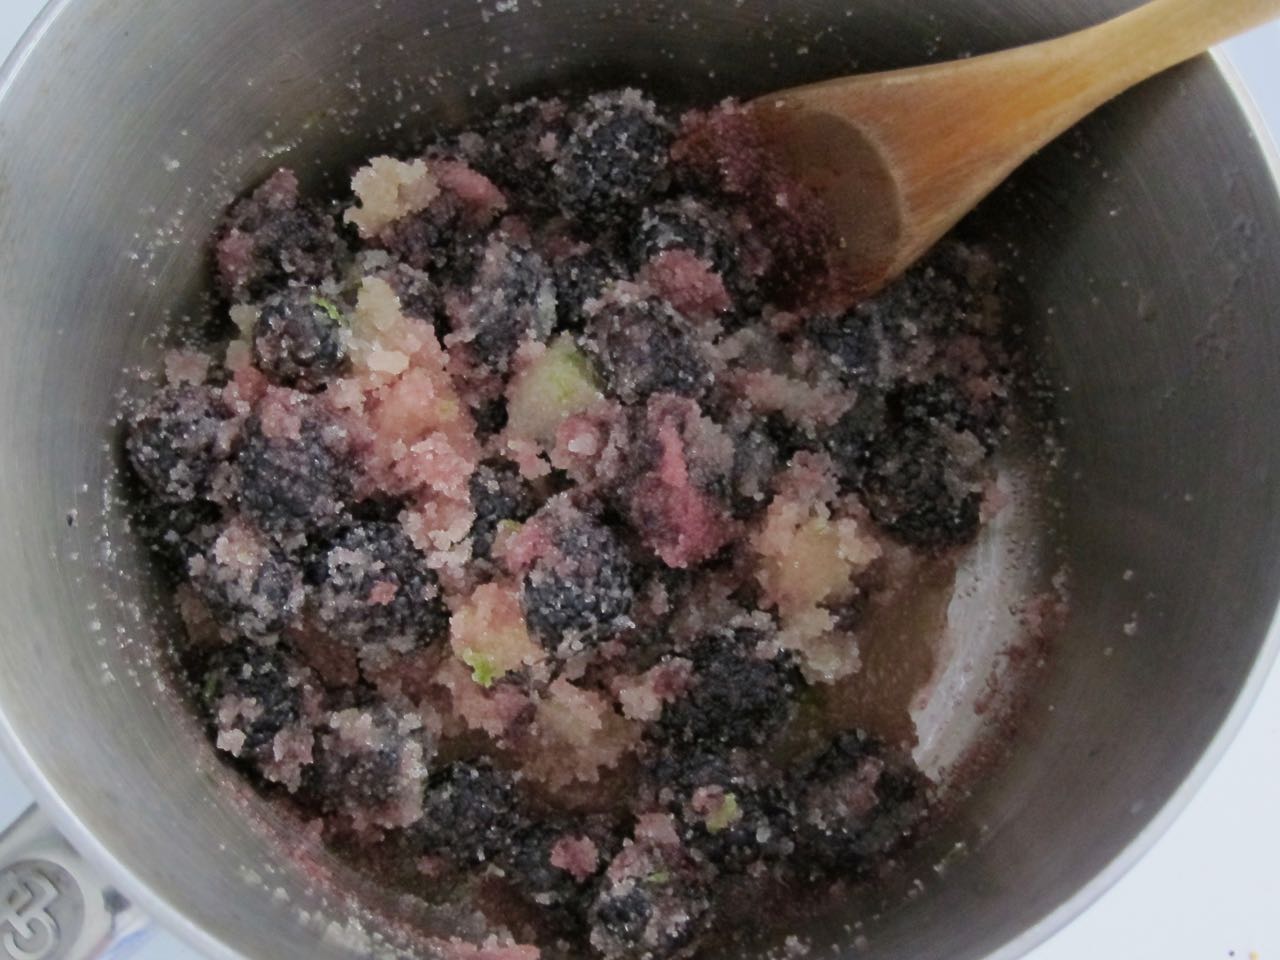
- Make the blackberry lime jam: Place a plate in the freezer. Combine the berries, sugar and zest in a large pot over medium heat. Stir while the sugar dissolves, crushing the blackberries against the side of the pot with the spoon to help release their juice.
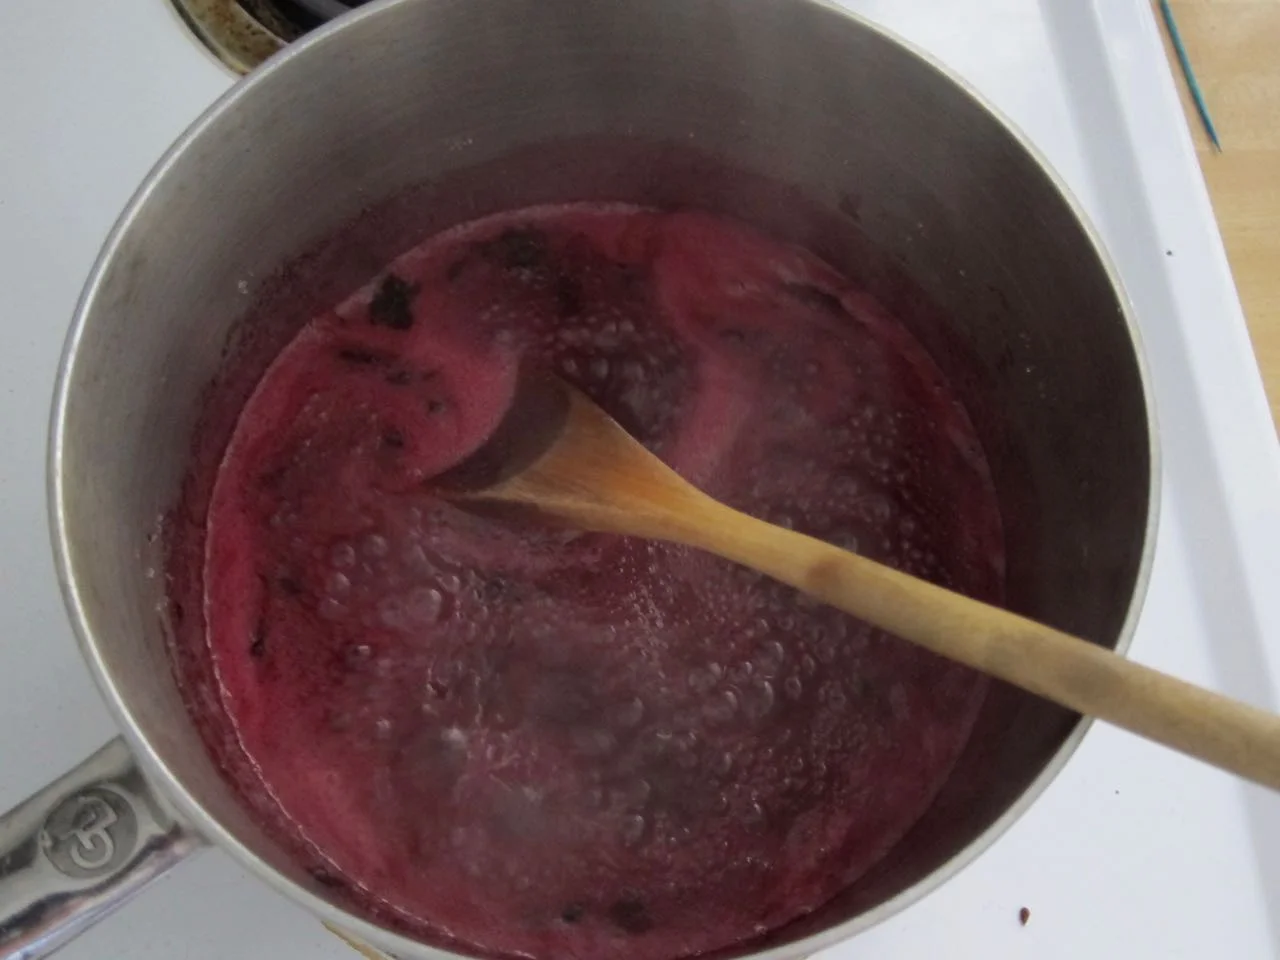
- Bring to a rolling boil on high heat for 1 minute, then remove from heat and run through a fine sieve or food mill to remove the seeds.
- Return to the heat and bring to a simmer, cooking until the jam is thickened, about 15 minutes. Test for jelling by dropping a bit of the jam mixture on the frozen plate. Wait a few seconds, then push the jam with your finger. If it wrinkles, it's done. Stir in the lime juice and set aside to cool completely.
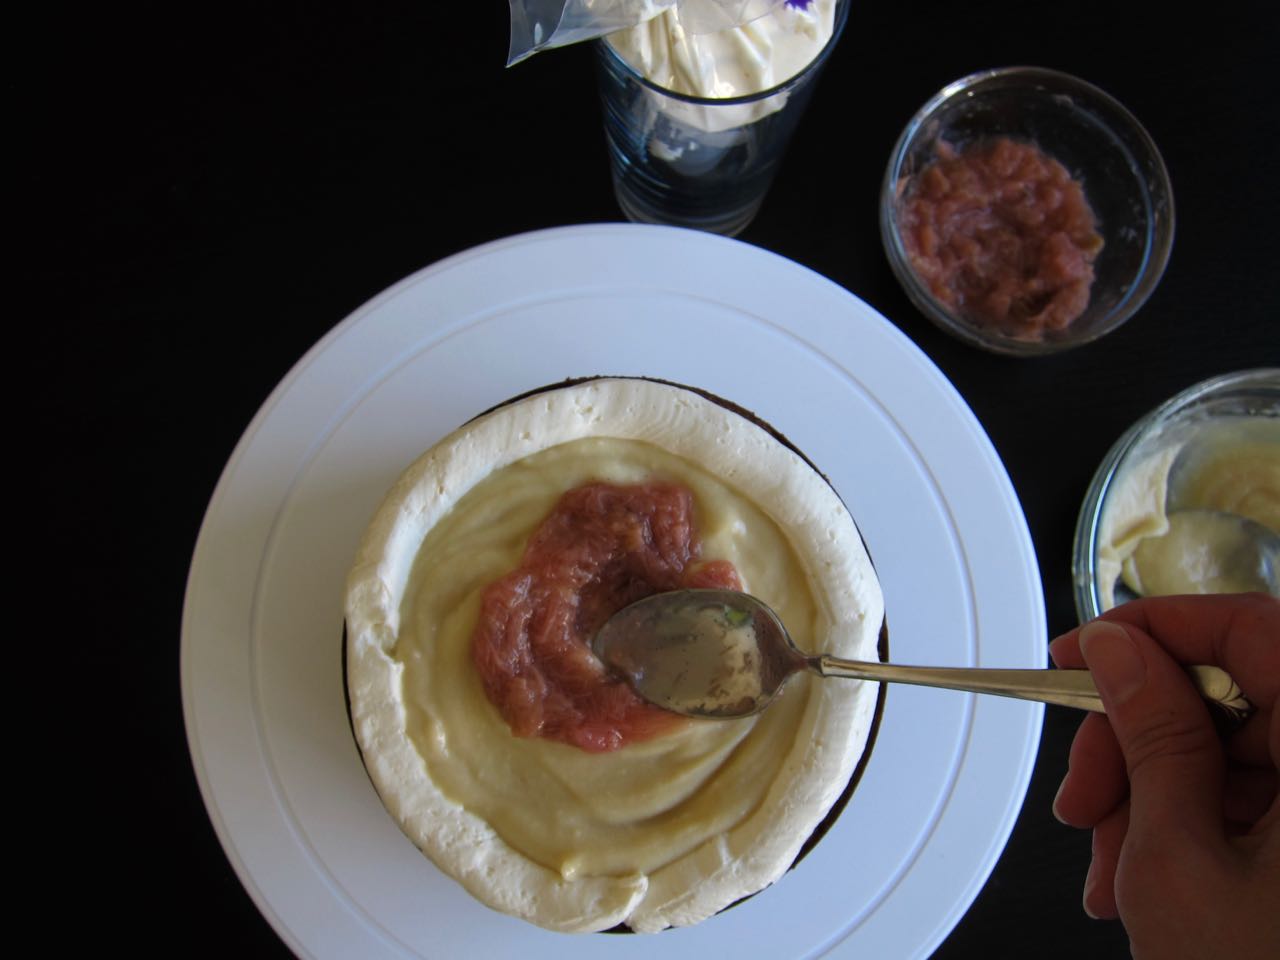
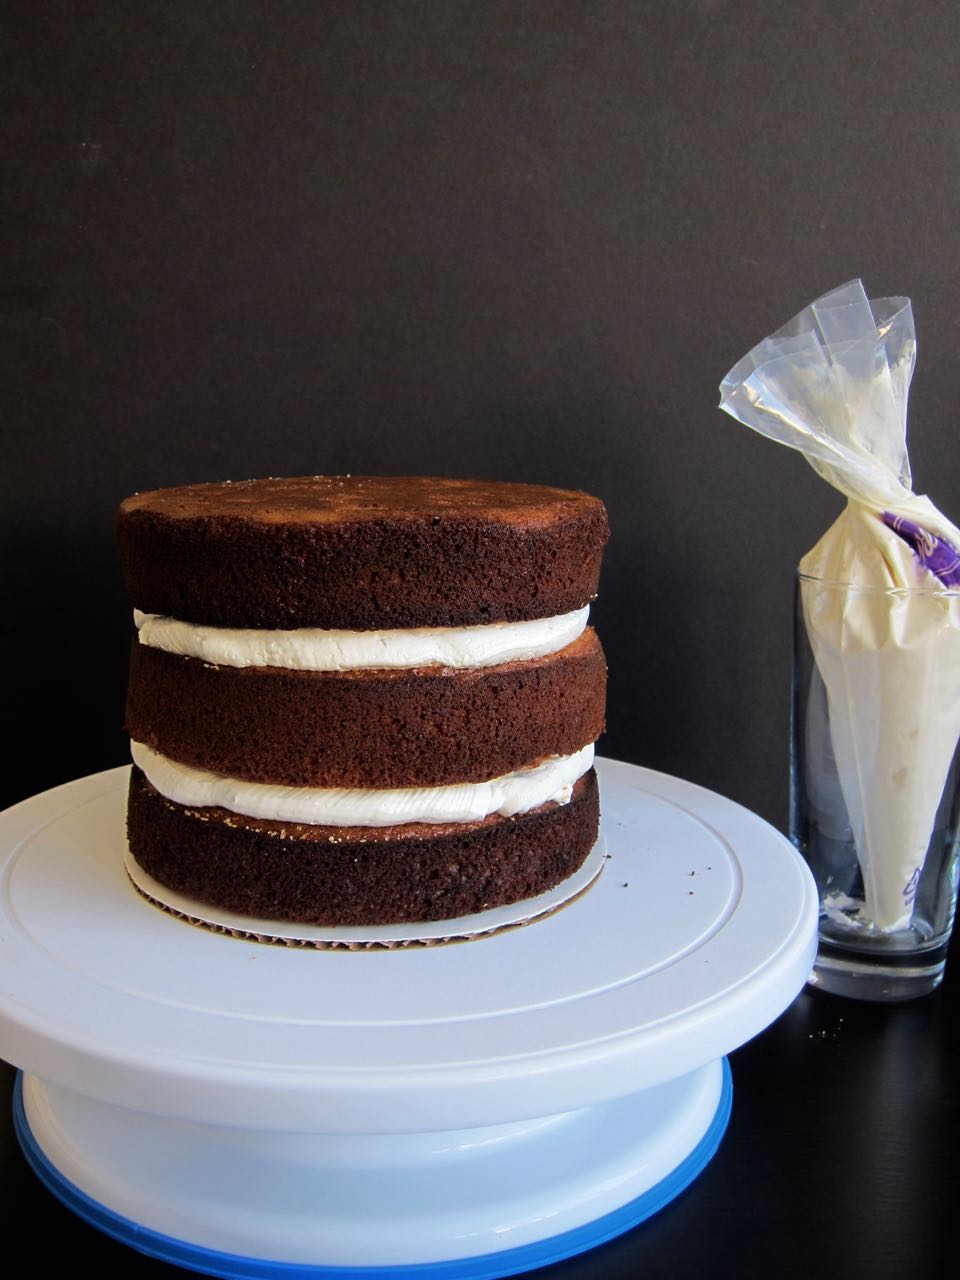
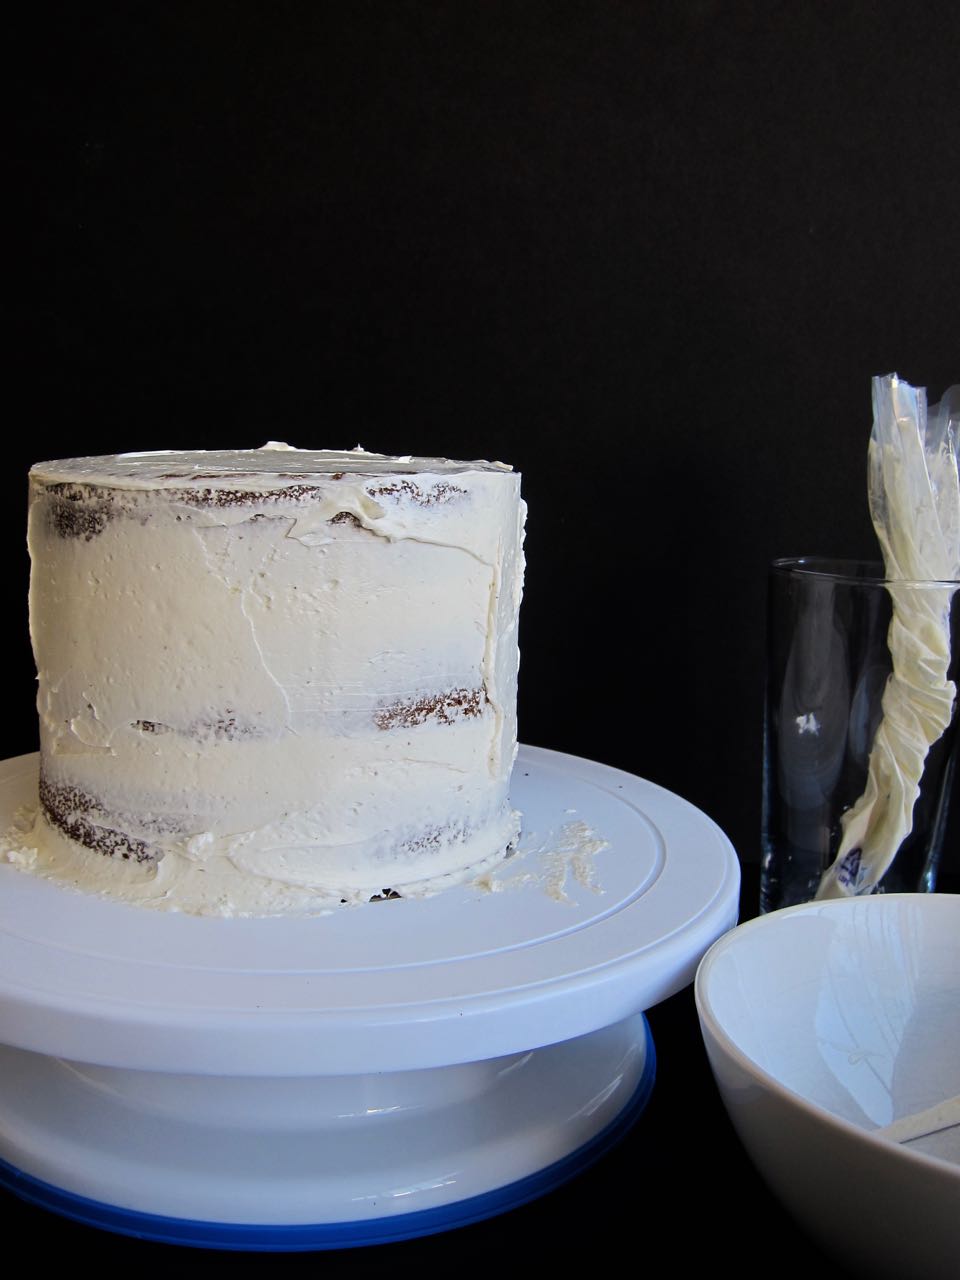
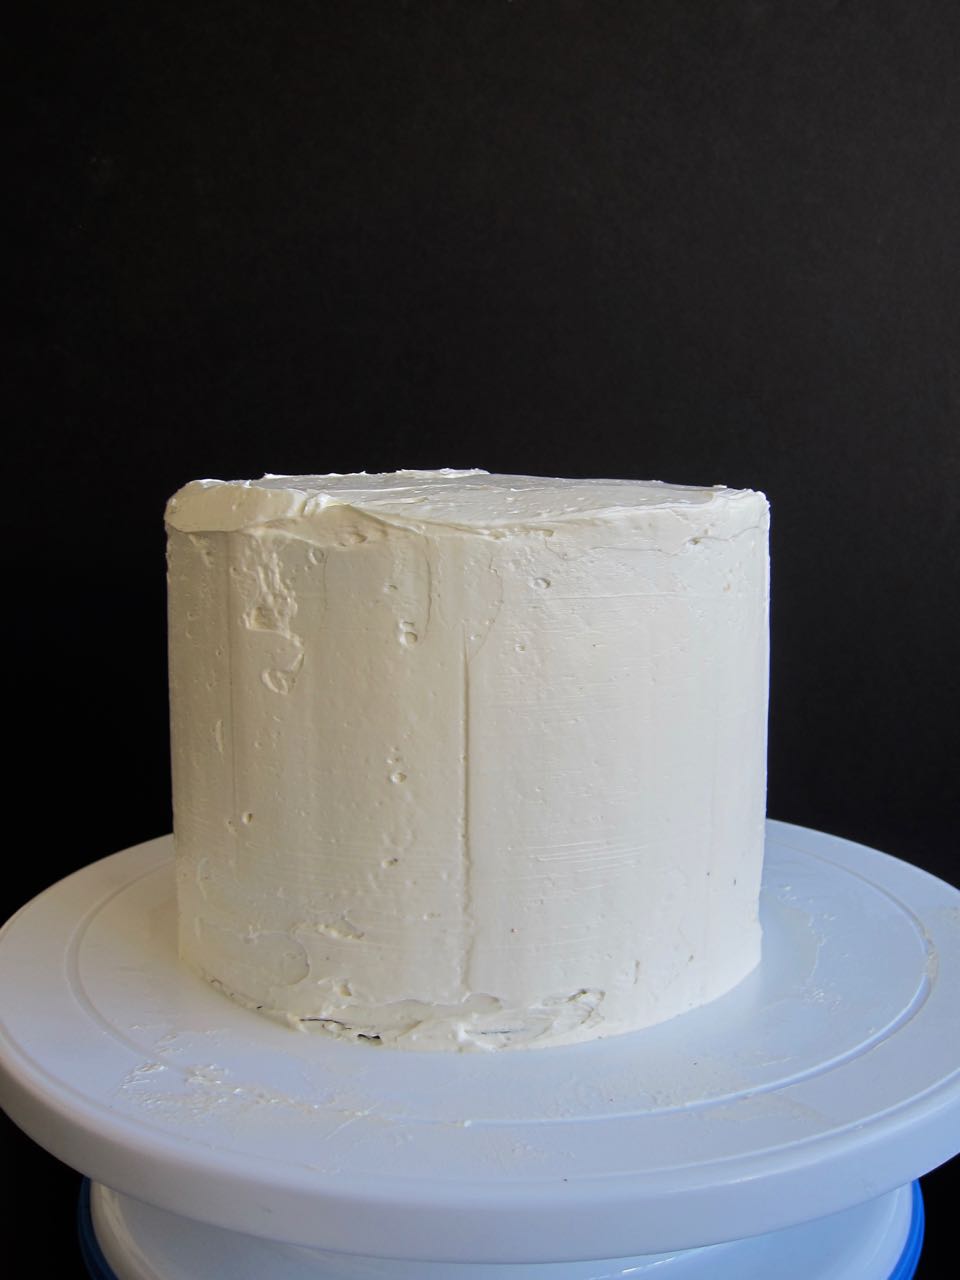
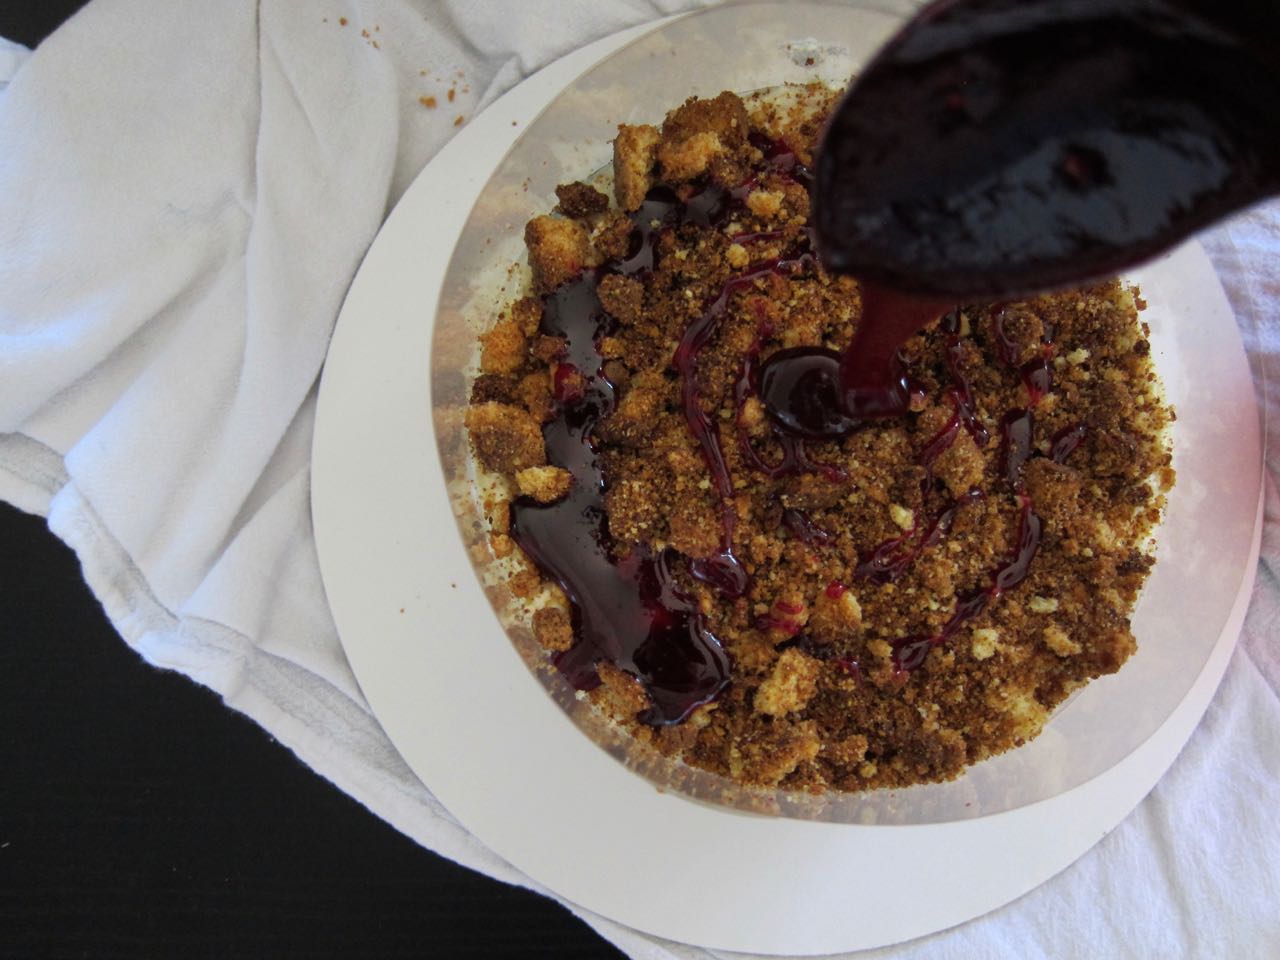
- Assemble the cake: Using a six-inch cake ring and a sheet of acetate at least 20 inches long, start stacking. On a cake board, place a layer of cake in the cake ring, line with the acetate. Spread half the corn whipped cream across the cake as evenly as possible. Sprinkle with a good amount of cookie crumbles, then spread a third of the jam over the crumbles. Top with another layer of cake and repeat layers until you have topped with the last cake layer, adding another layer of acetate if needed. Spread last 1/3 of jam across the top of the cake and then chill the entire layered cake in the freezer at least 3 hours. Thaw before slicing and serving.
Notes:
- If you don't want to bake 3 layers, you can divide the batter between 2 pans and bake 20-25 minutes. When assembling, slice each layer horizontally about 2/3 of the way up. Stack the thinner layers together into 1 layer on the bottom of the cake.