• Home
    • Recipes
    • The Roast Chicken Project
    • Allie Dreams of Cake
    • Sunday Suppers
  • Travel
  • About
Menu

Tea and Fog

Street Address
City, State, Zip
Phone Number

Your Custom Text Here

Tea and Fog

  • Home
  • Recipes
    • Recipes
    • The Roast Chicken Project
    • Allie Dreams of Cake
    • Sunday Suppers
  • Travel
  • About

Luxe Rosemary Grits with Goat Cheese

December 22, 2020 Allie
polenta with rosemary and goat cheese

Here’s an easy recipe perfect as a side to a holiday feast, or even a fancy New Year’s brunch. This, to me, is the perfect side, almost completely hand’s off until you want to serve it, with a few check ins on the way, happy to hang out on a back burner while the rest of a meal comes together.

You simmer polenta with milk and rosemary on the stove until creamy, stir in some butter, and serve dotted with creamy, tangy goat cheese. The cheese swirls into the polenta as you spoon it, and everyone will ooh and ahh like you’ve just done something amazingly impressive. I can’t think of a holiday centerpiece this won’t pair well with, whether that’s a crown roast, a beef wellington, a ham, a vegetarian whole roasted cauliflower, or even some eggs and bacon for breakfast.

Happy Holidays! Stay safe!

polenta
rosemary and goat cheese polenta

Grits or Polenta with Rosemary and Goat Cheese

Method adapted from Alton Brown. This is perfect to have simmering on the stove while you get the rest of a holiday meal together.

  • 1 cup polenta or grits (yellow preferred)

  • 2 cups whole milk

  • 2 cups water, plus more, as needed

  • 1 1/2 tsp kosher salt

  • 2 sprigs rosemary, plus more for garnish

  • 4 tbs unsalted butter, cubed

  • 2 oz goat cheese

  1. Add the grits or polenta, milk, 2 cups water and salt to a large pot and let sit for 5 minutes. Skim anything that floats to the top.

  2. Turn the heat to medium high and bring to a simmer while whisking, about 5 minutes. Reduce heat to low, add the rosemary sprigs, and let cook, stirring occasionally. Add water as needed when the mixture seems especially thick, until the mixture thick but not stiff, and is smooth and creamy and nothing tastes gritty or especially toothsome when you try a bite. For me, this takes about 1 1/2 to 2 hours.

  3. When you get the consistency you want, remove from heat and remove the rosemary sprigs, then stir in the butter. Pour out onto a platter, dot with the goat cheese, and garnish with more rosemary. Serve immediately.


In Recipes Tags Sides & Appetizers, Breakfast
Comment

Pizza Donuts

December 9, 2020 Allie
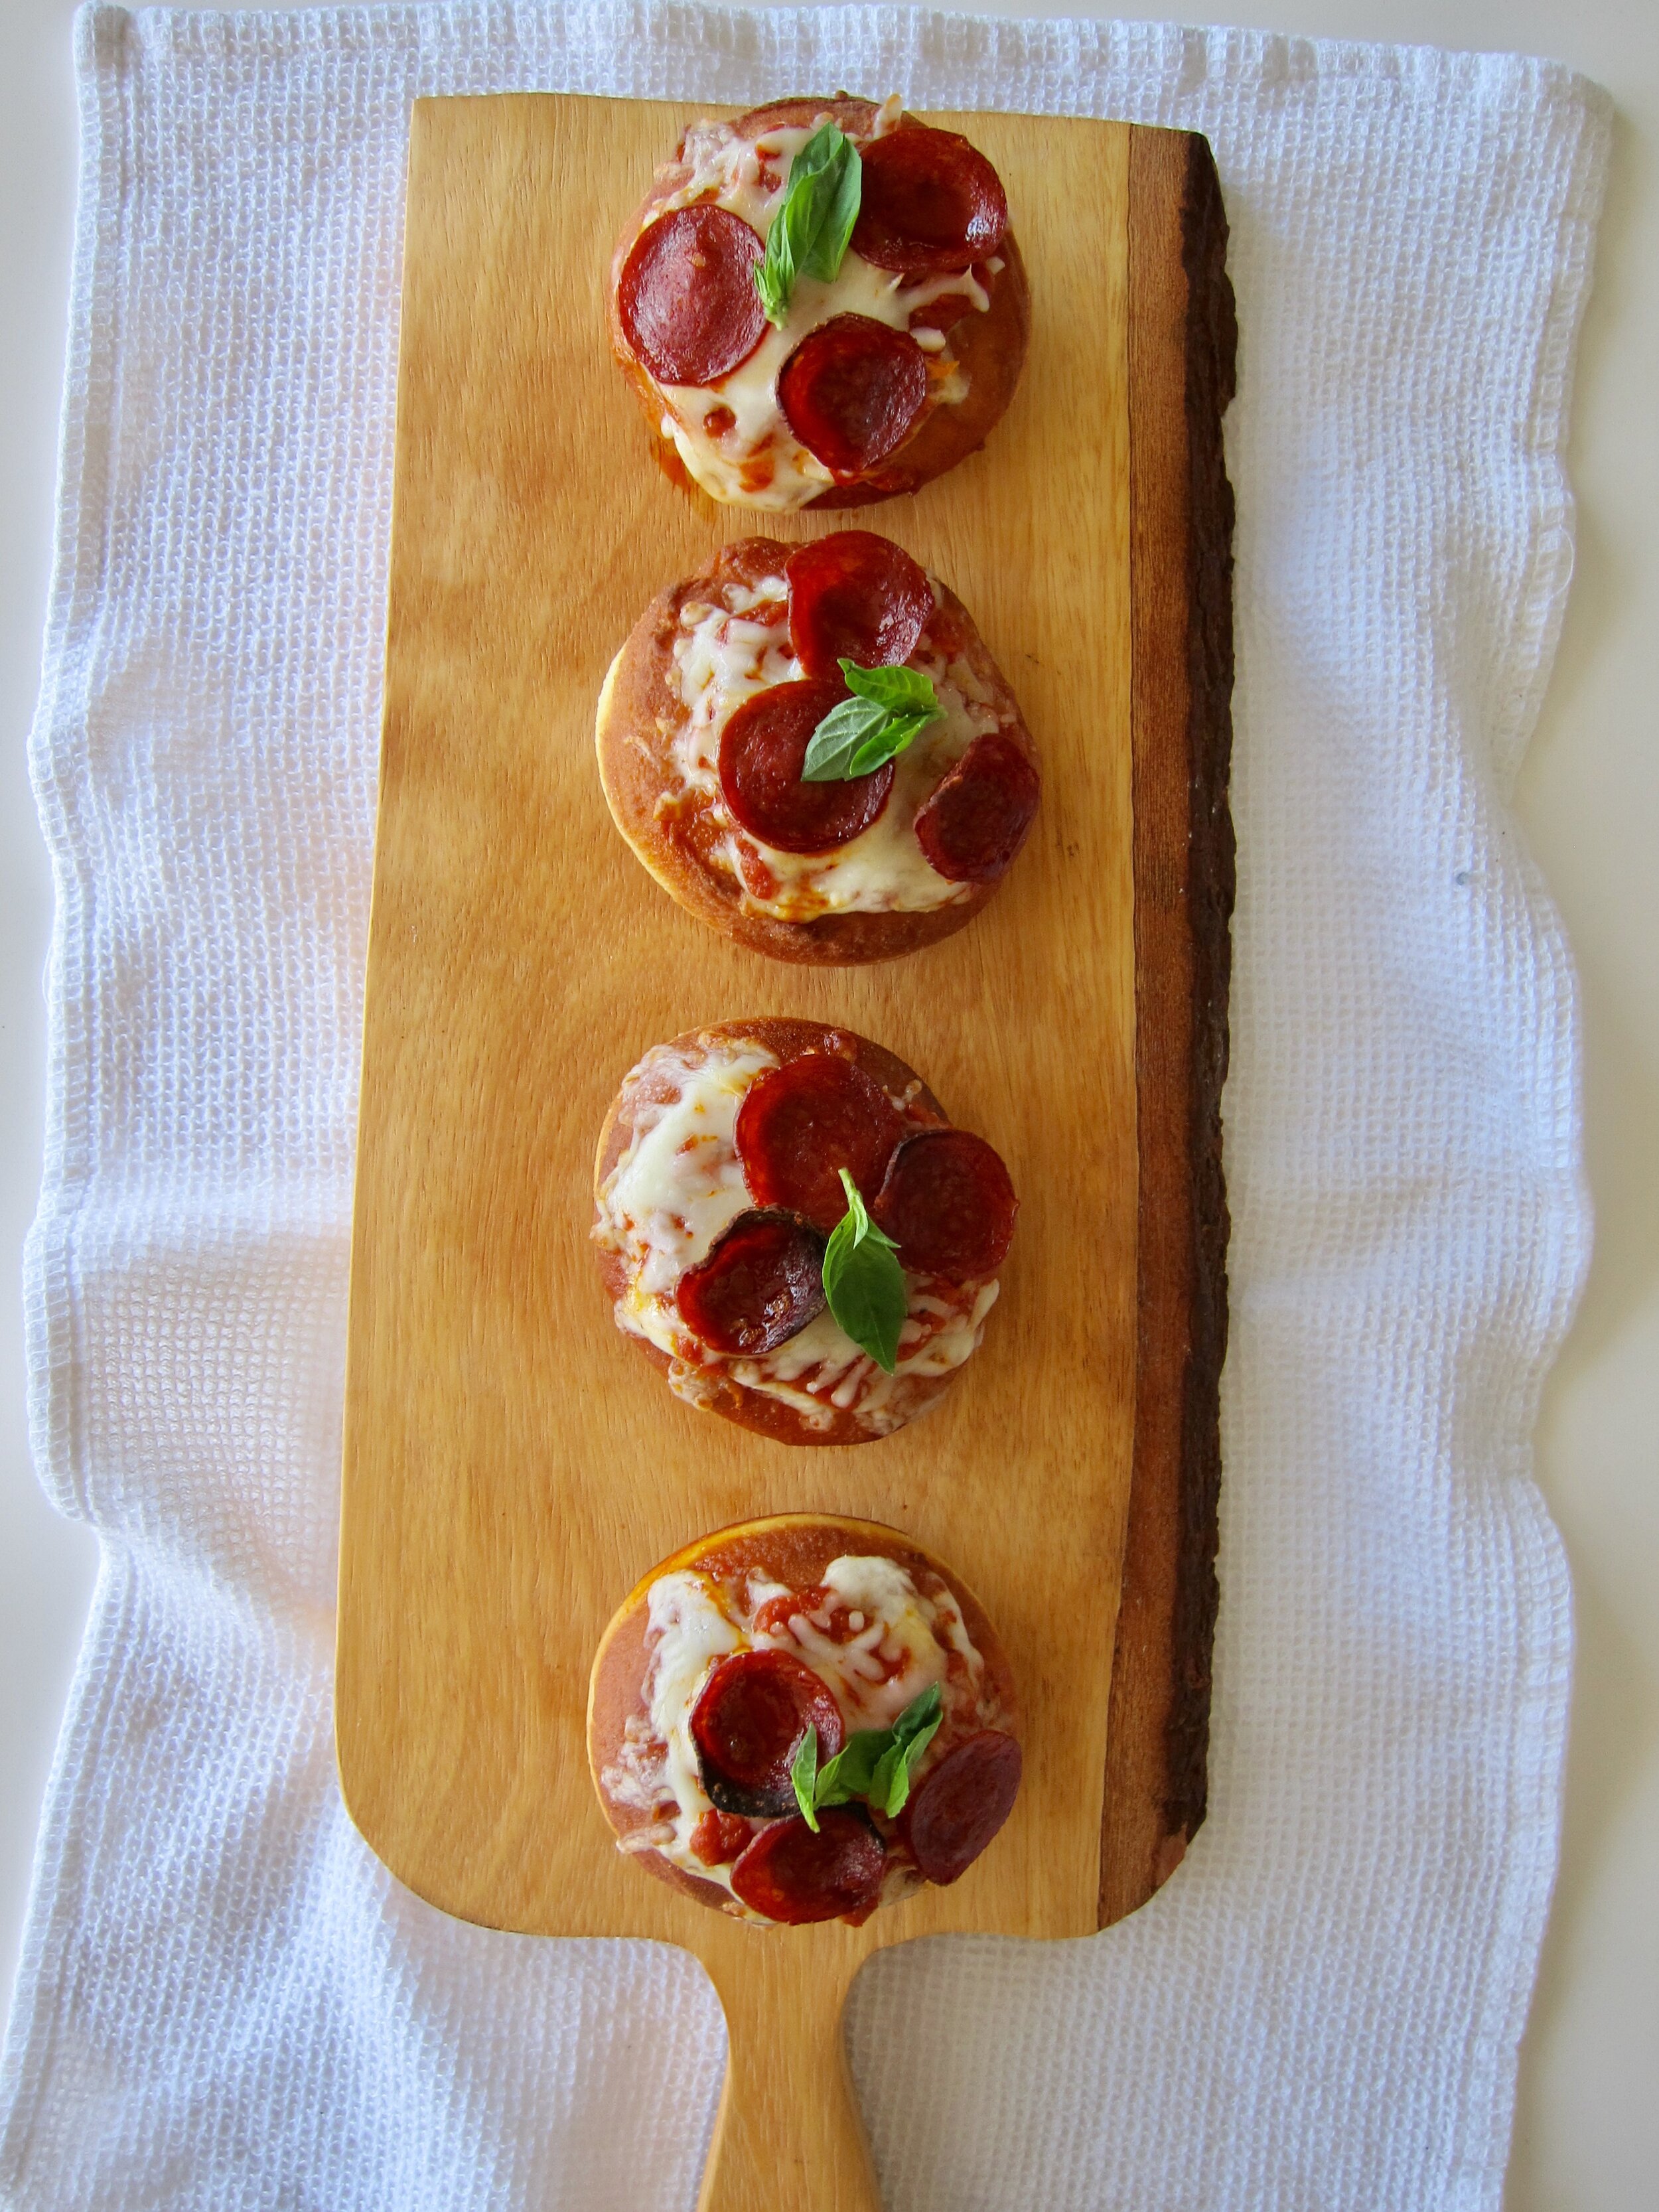
Pizza Doughnuts

Sorry, I do realize I’ve turned this space into something of a donut blog in the past month, but I guess I’ve been on a donut kick! The good news is these are made from the exact same recipe as the preserved lemon cream donuts, and in fact I just split that recipe in half and turned some of my donuts into little pizzas.

I highly recommend you try this, especially if you find yourself with some extra pizza ingredients on hand, as I did. Before I experimented with adding those toppings to my donuts, I did check in with my roommate, who I consider a bit of a pizza expert, as to whether this was too weird. She was enthusiastic, and so I bravely forged ahead.

And you know what? This turned out to be a brilliant idea. The doughnuts create a plush, chewy, yet forgiving bite of dough, and the toppings of sauce, cheese, and pepperoni don’t get any more classic. It tasted exactly like biting into a pizza, but a small, portable hand held one. It reminded me of bagel bites, actually! Only, without the weird, hard pieces of bagel and the scorching of the roof of my mouth (definitely give these a minute to cool out of the oven). If a local bakery started selling these as a weekend brunch option, I’d get in line.

Pizza Donuts
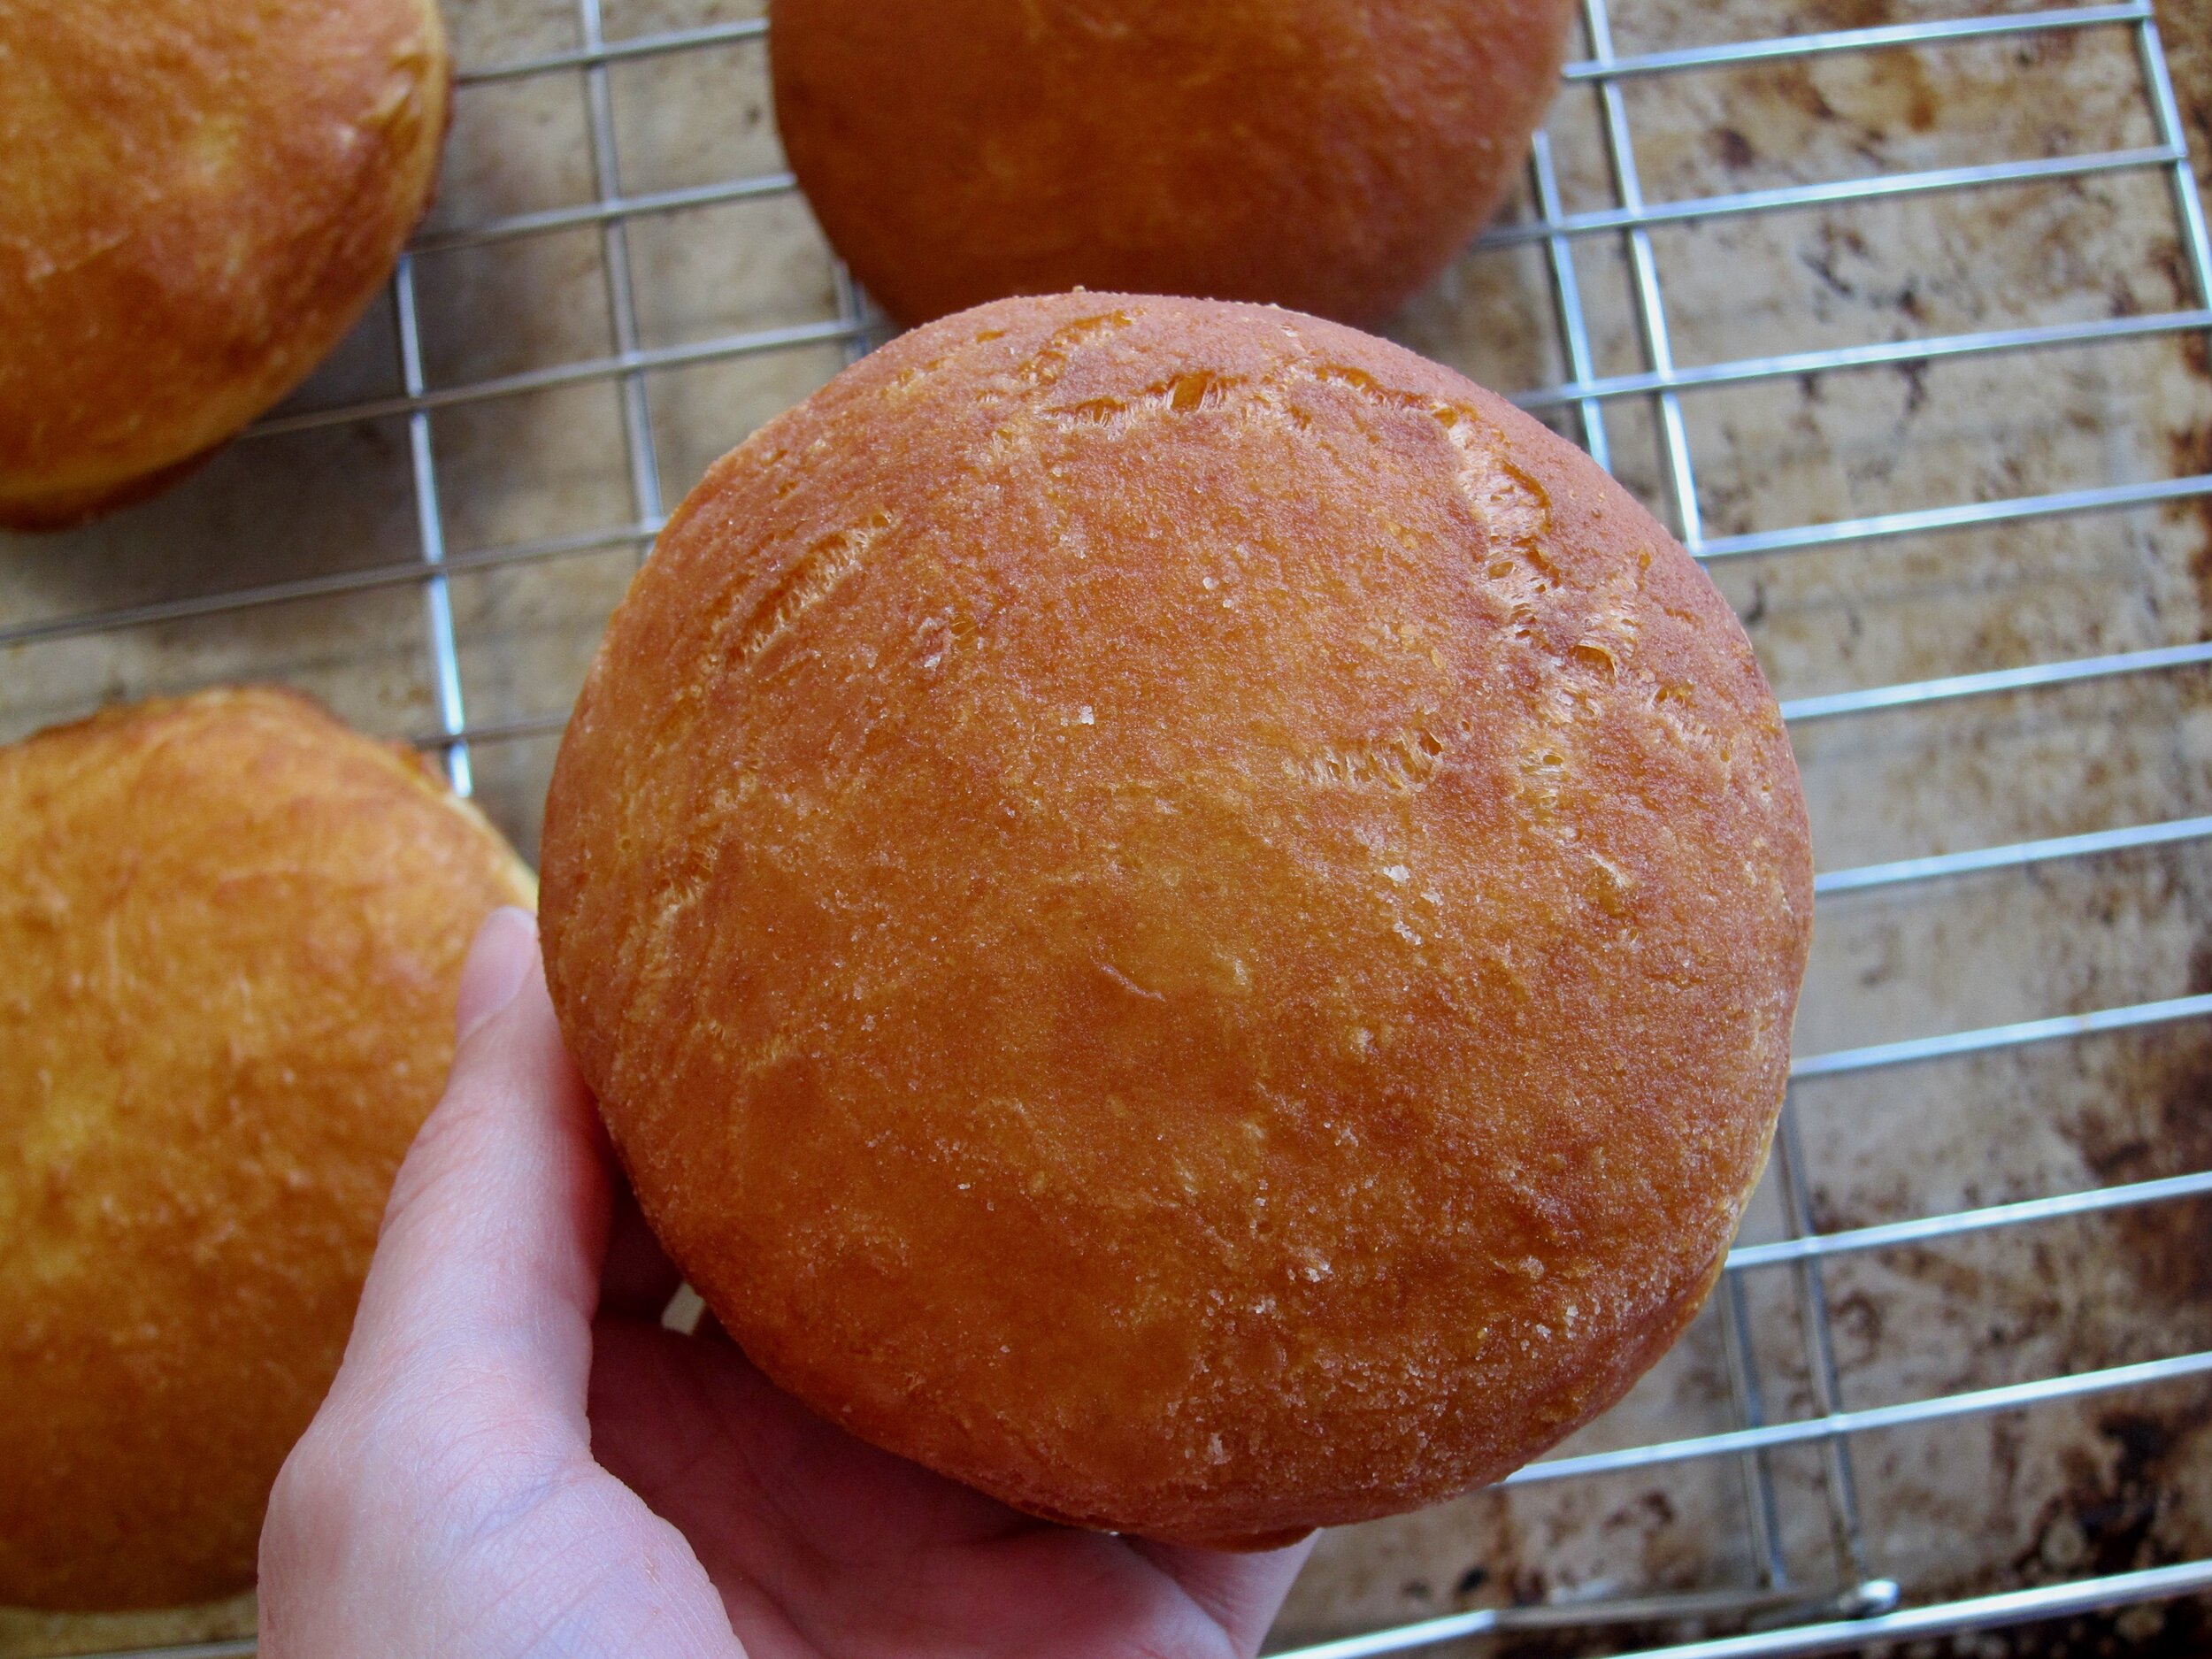
Fried Donut.jpeg
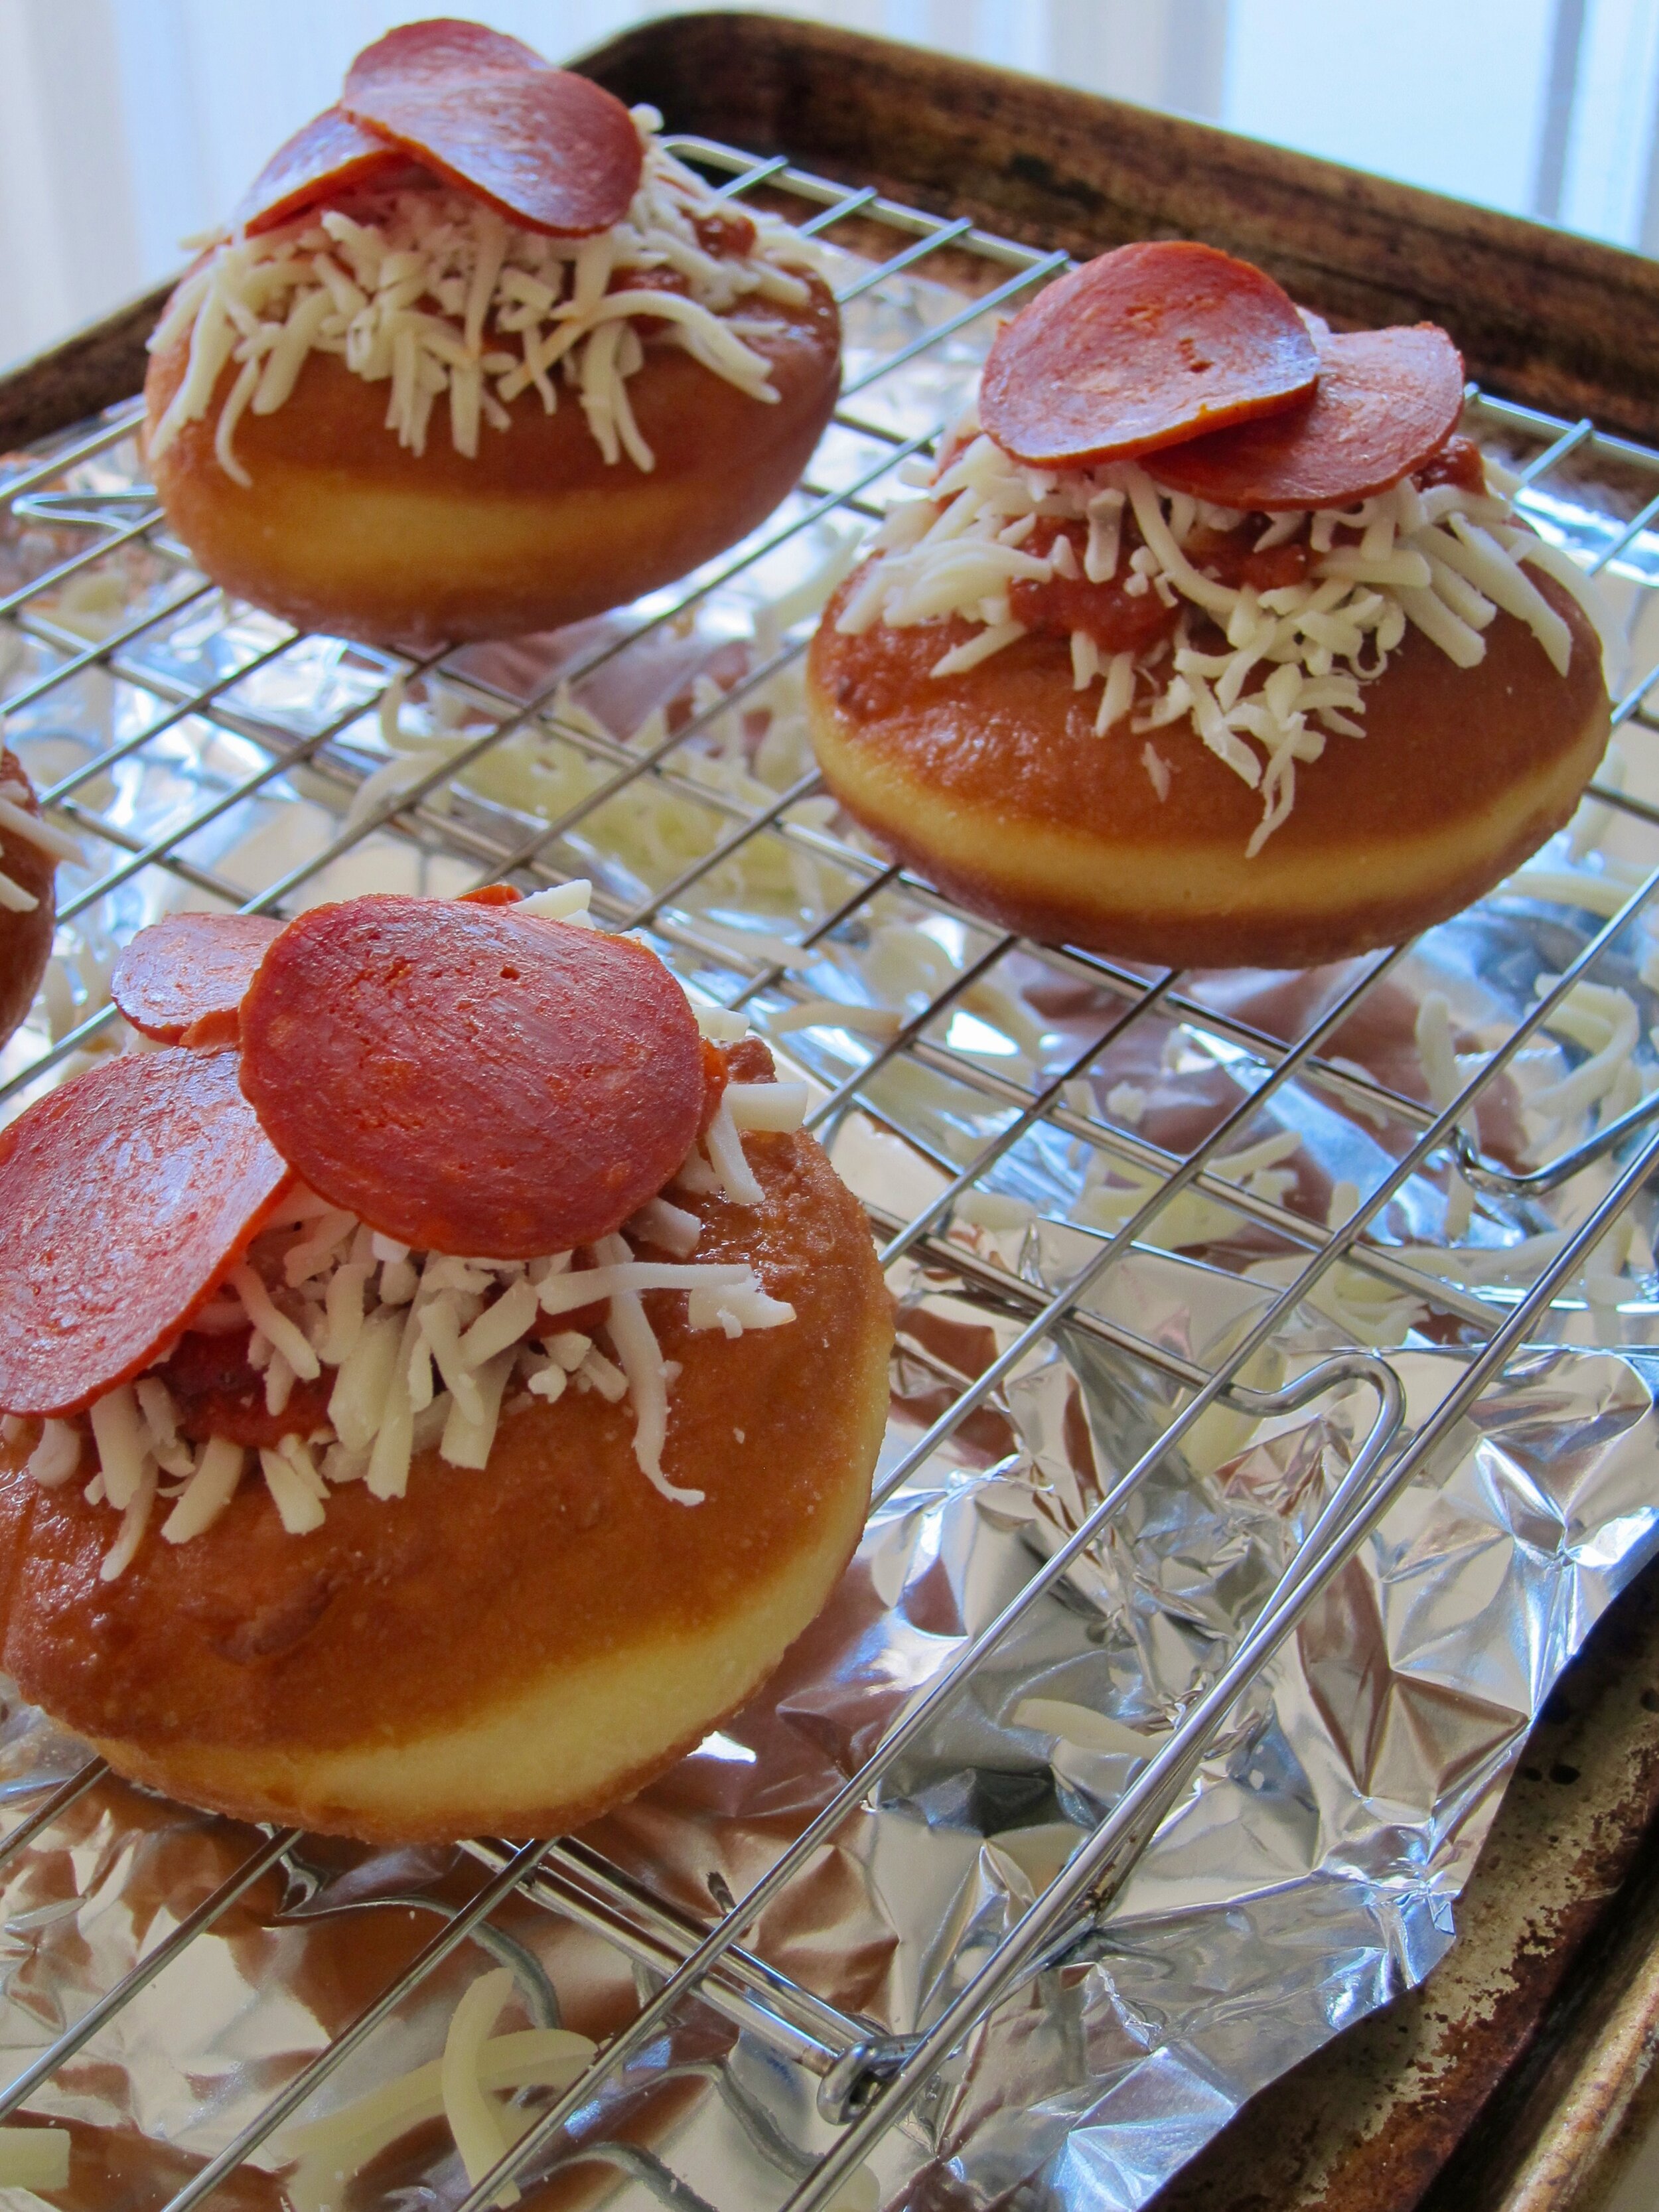
Topping Pizza Donuts.jpeg
garnishing pizza donuts
pizza donut

Pizza Donuts

Like my preserved lemon cream donuts, I fried these in olive oil, which in this case really helps nail the pizza flavors we are going for.

For the donuts (adapted from Joy the Baker)

  • 2 1/4 tsp active dry yeast

  • 3 tbs warm water

  • 3 cups all purpose flour

  • 3/4 cup whole milk, warmed to just above room temp

  • 3 tbs unsalted butter, room temp

  • 3 egg yolks

  • 2 tbs sugar

  • 1 1/2 tsp salt

  • olive oil, for frying

Pizza toppings:

  • pizza sauce (store-bought is totally great and fine here)

  • shredded mozzarella

  • pepperoni

  • small leaves of basil

  1. Make the donuts: Stir together the yeast and the warm water until the yeast is dissolved, and let sit 5 minutes, until foamy. Add the yeast mixture to the bowl of a stand mixer with the flour, milk, butter, egg yolks, sugar and salt, and mix on low speed with the dough hook until everything combines, then increase the speed to medium high and beat for 3 minutes more.

  2. Scrape down the sides of the the bowl, then sprinkle the dough with a bit of flour, cover with plastic wrap, and let rise for one hour, until doubled.

  3. Turn the dough out onto a floured surface, and roll out to a 1/2 inch thick round. Cut into rounds with a 2 1/2-3 inch cutter. Place rounds on parchment lined baking sheet and let rise, covered, for another 30 minutes. Let the scraps rise too, they will be excellent testers for frying (and snacking).

  4. Heat enough olive oil in a sturdy pot to reach 3 inches up the sides, to 350 degrees. You can get away with a smaller pot and thus less oil, but make sure the sides are high enough you won’t be in danger of oil bubbling over, and only fry enough donuts at a time so you don’t crowd the pan.

  5. When your oil has reached temperature, use some of the dough scraps to test out your oil. Fry each round for about 1 minute per side, then remove and transfer a baking sheet lined with paper towels to drain, then set on a wire rack while you fry remaining dough rounds. You can fry all the donuts a bit ahead of time if necessary, since we are reheating in the next step.

  6. When all of your donuts are fried, heat the broiler on your oven. Set a wire rack over a baking sheet lined with foil or parchment paper. Flip each donut so the flattest side is facing up and place on the wire rack. Top as desired with pizza sauce, cheese, and pepperoni. Place in the oven and broil until the cheese is melted and bubbling, the pepperoni is starting to crisp, and everything smells like pizza heaven.

  7. Remove from oven and garnish with the basil, and serve!

Notes:

  • I have not tried this, but these could absolutely work as donut bites for a party. Just cut out rounds 1-2 inches across, fry, then top as directed but with a single, cute pepperoni on top.

In Recipes Tags Sides & Appetizers, Breakfast
2 Comments

Burnt Honey Butter Biscuits

December 1, 2020 Allie
Burnt Honey Butter Biscuits

I hope everyone had a lovely, Small Thanksgiving! I hope you got to spend it with some family in friends in person, or over video chat! I hope you ate too much food.

I definitely did eat too much, and yet this week I’m still eating some mac and cheese and finally having some pumpkin pie. And, of course, I’m starting to think about Christmas foods. ‘Tis the season!

Actually, it’s been the season since I let myself start watching Christmas Rom Coms on Halloween. I’ve relaxed all the rules this year.

One rule I won’t relax, however, is my personal rule that you cannot have too many carbs on a holiday table. So, today I offer an option, we’re making biscuits! Burnt Honey Butter biscuits, to be exact.

No, the “burnt” does not refer to the biscuits, but rather the honey in the butter in the biscuits. Yeah. It adds an extra step to these, but I promise, it is worth it! The burnt honey takes on a complex, bitter note under the sweetness, and that combines into a biscuit that is still perfect as a vehicle for more butter or gravy, but also has an edge to it that goes fantastically with sweet jams or fruit butters, or even savory applications like whole grain mustard. They are pretty addictive.

I came up with these on a whim earlier this year. The thing about a pandemic is you have extra time to sit and comb through your more neglected cookbooks. One of those for me was Christina Tosi’s Milk Bar Life, which I bought years ago but had never cooked out of. It was fun to read, but I don’t exactly want to make something like Tang Toast or fruity pebble meringues (or do I). However, picking it up again this year, I realized there is a treasure trove of recipes in there for hearty, comforting meals and fun snacks, exactly what I was after. I successfully made a pizza, failed at kimchi cheese-its, and after making a batch of burnt honey butter for a recipe that used 1 tablespoon of it, I was left with basically an entire stick’s worth of butter. I decided to find out how it would do in biscuits.

It does great! But a couple subsequent experiments taught me a few dangers to watch out for. DON’T over burn the honey, DO keep everything as COLD as possible when working with a whipped butter, and DO weigh everything. Also, no, these won’t do very well swapping in whole wheat flour.

If you manage that, I promise some flaky, fluffy, buttery biscuits, with a faint bitter note. These are cozy with an edge, perfect for slicing through an indulgent Christmas or New Year’s dinner and bringing you into 2021.

burnt honey biscuit
baked biscuits
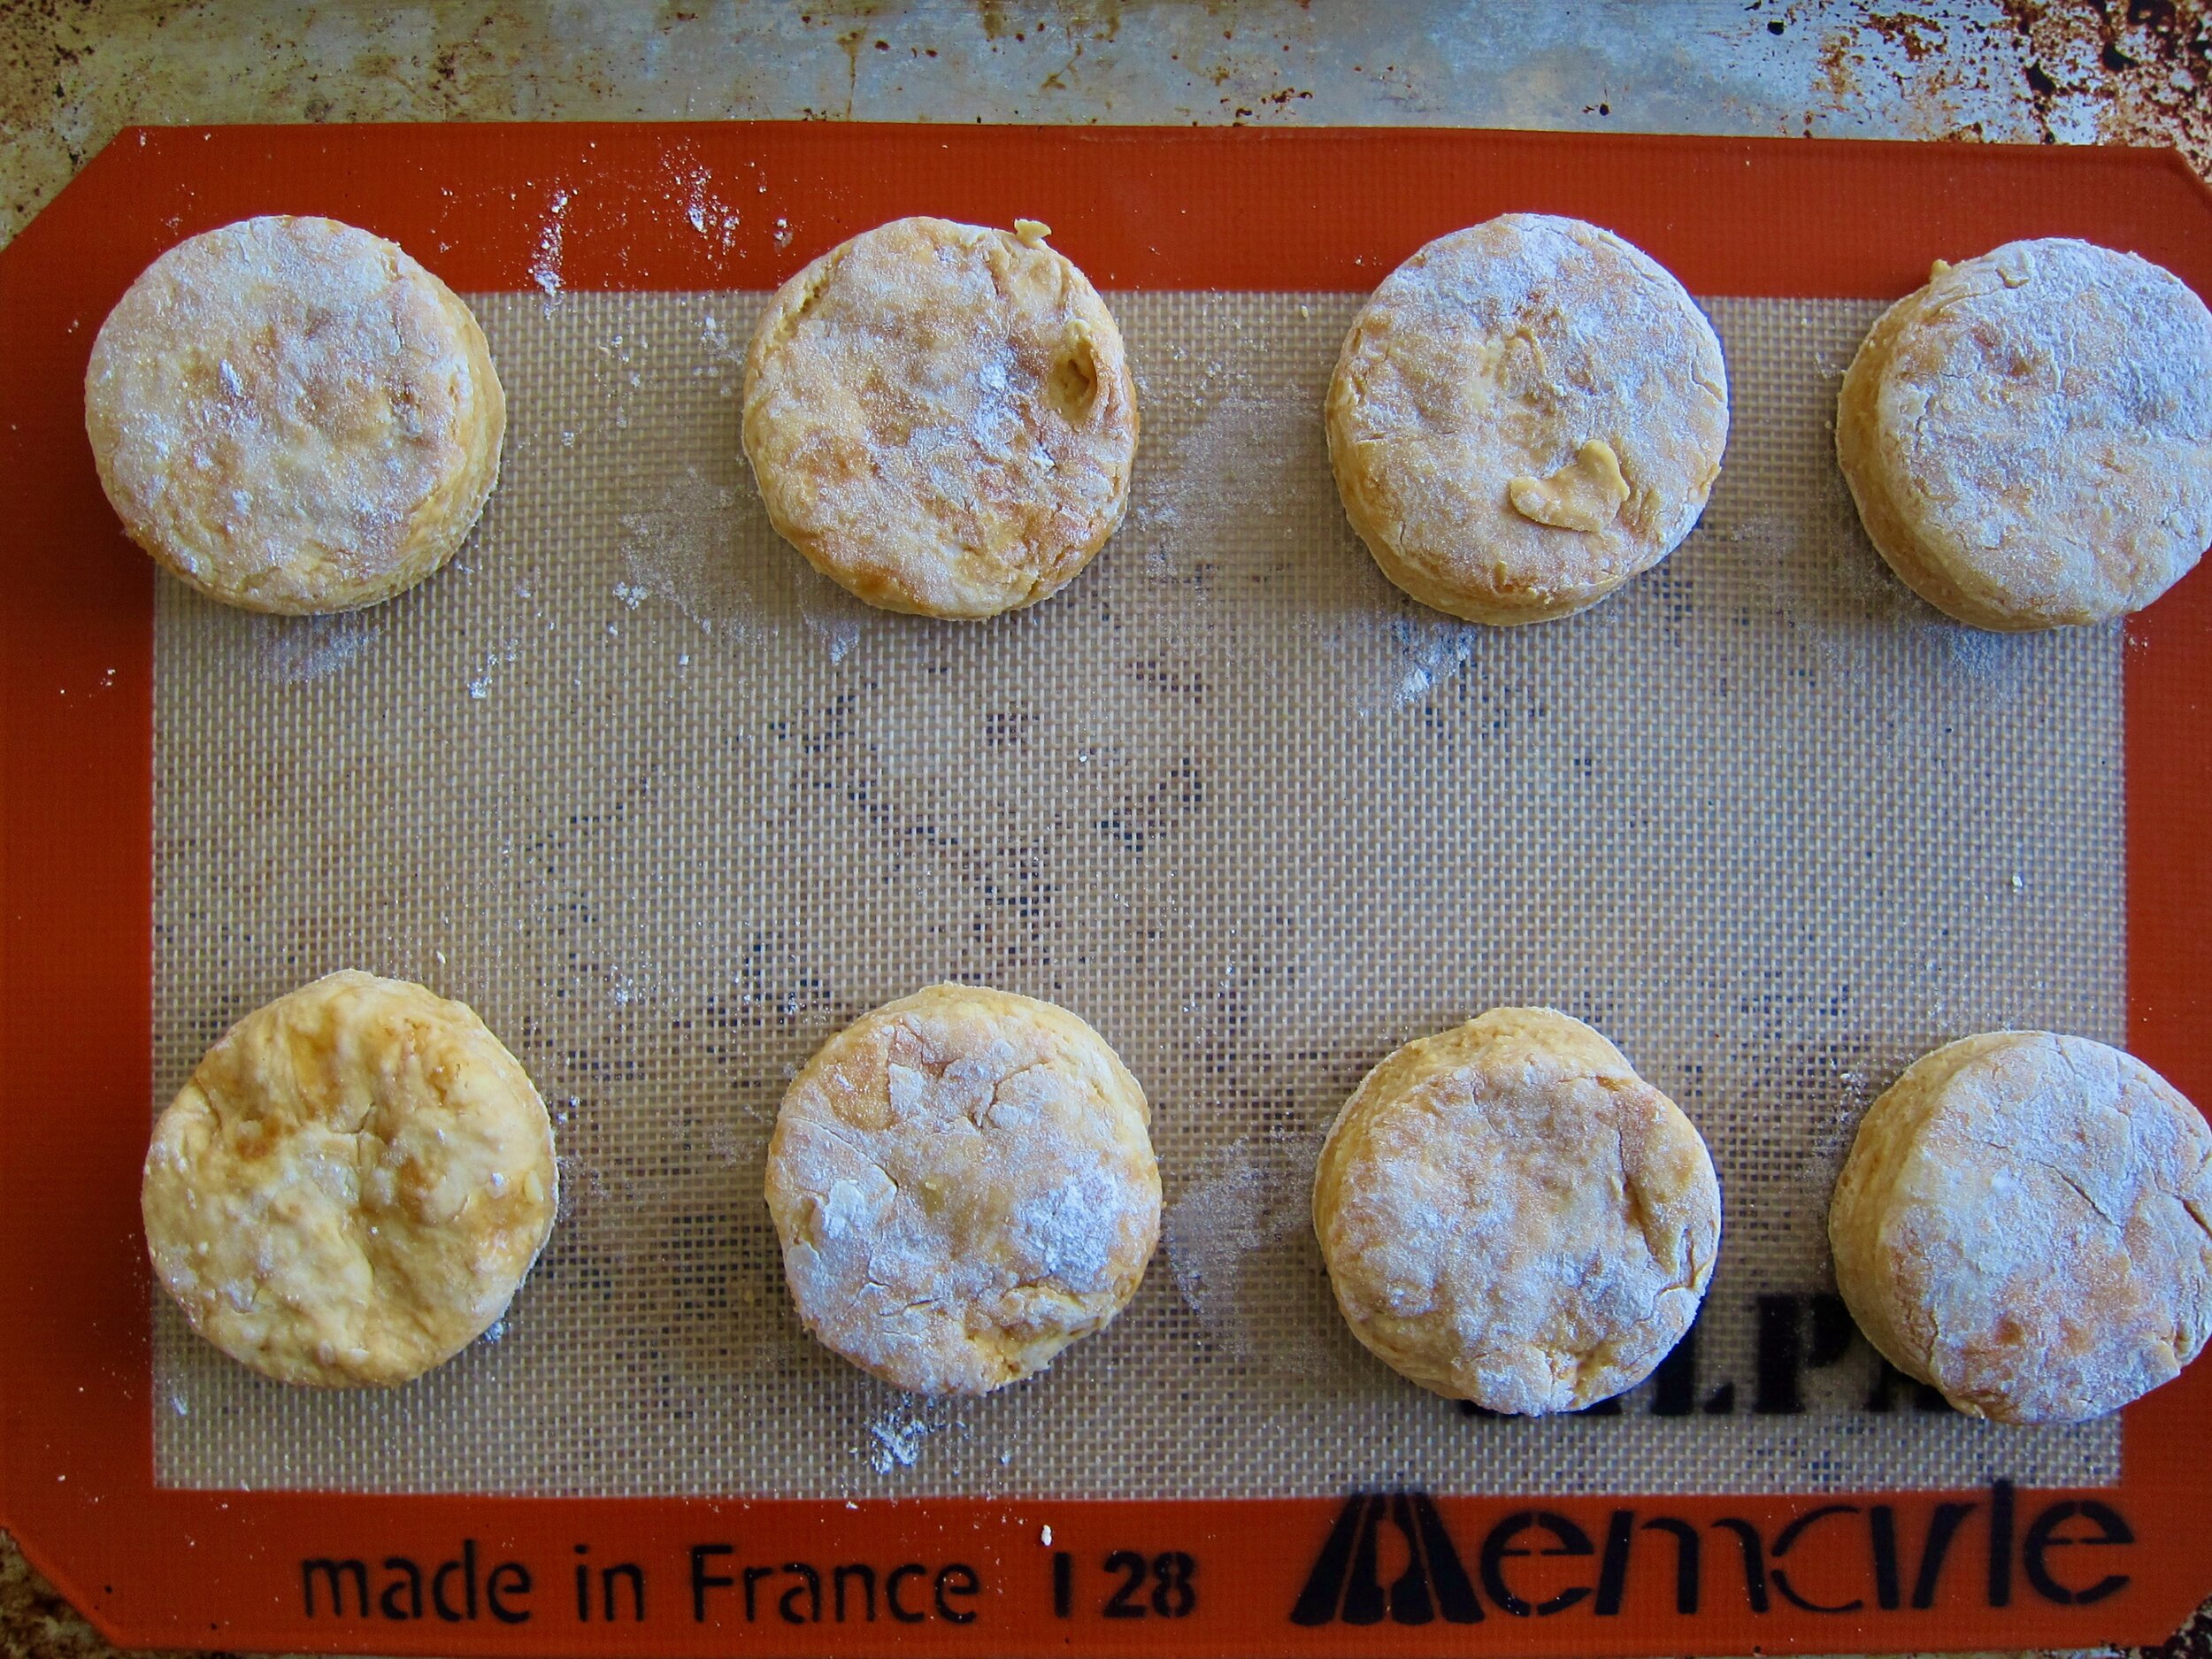
cut biscuits.jpeg
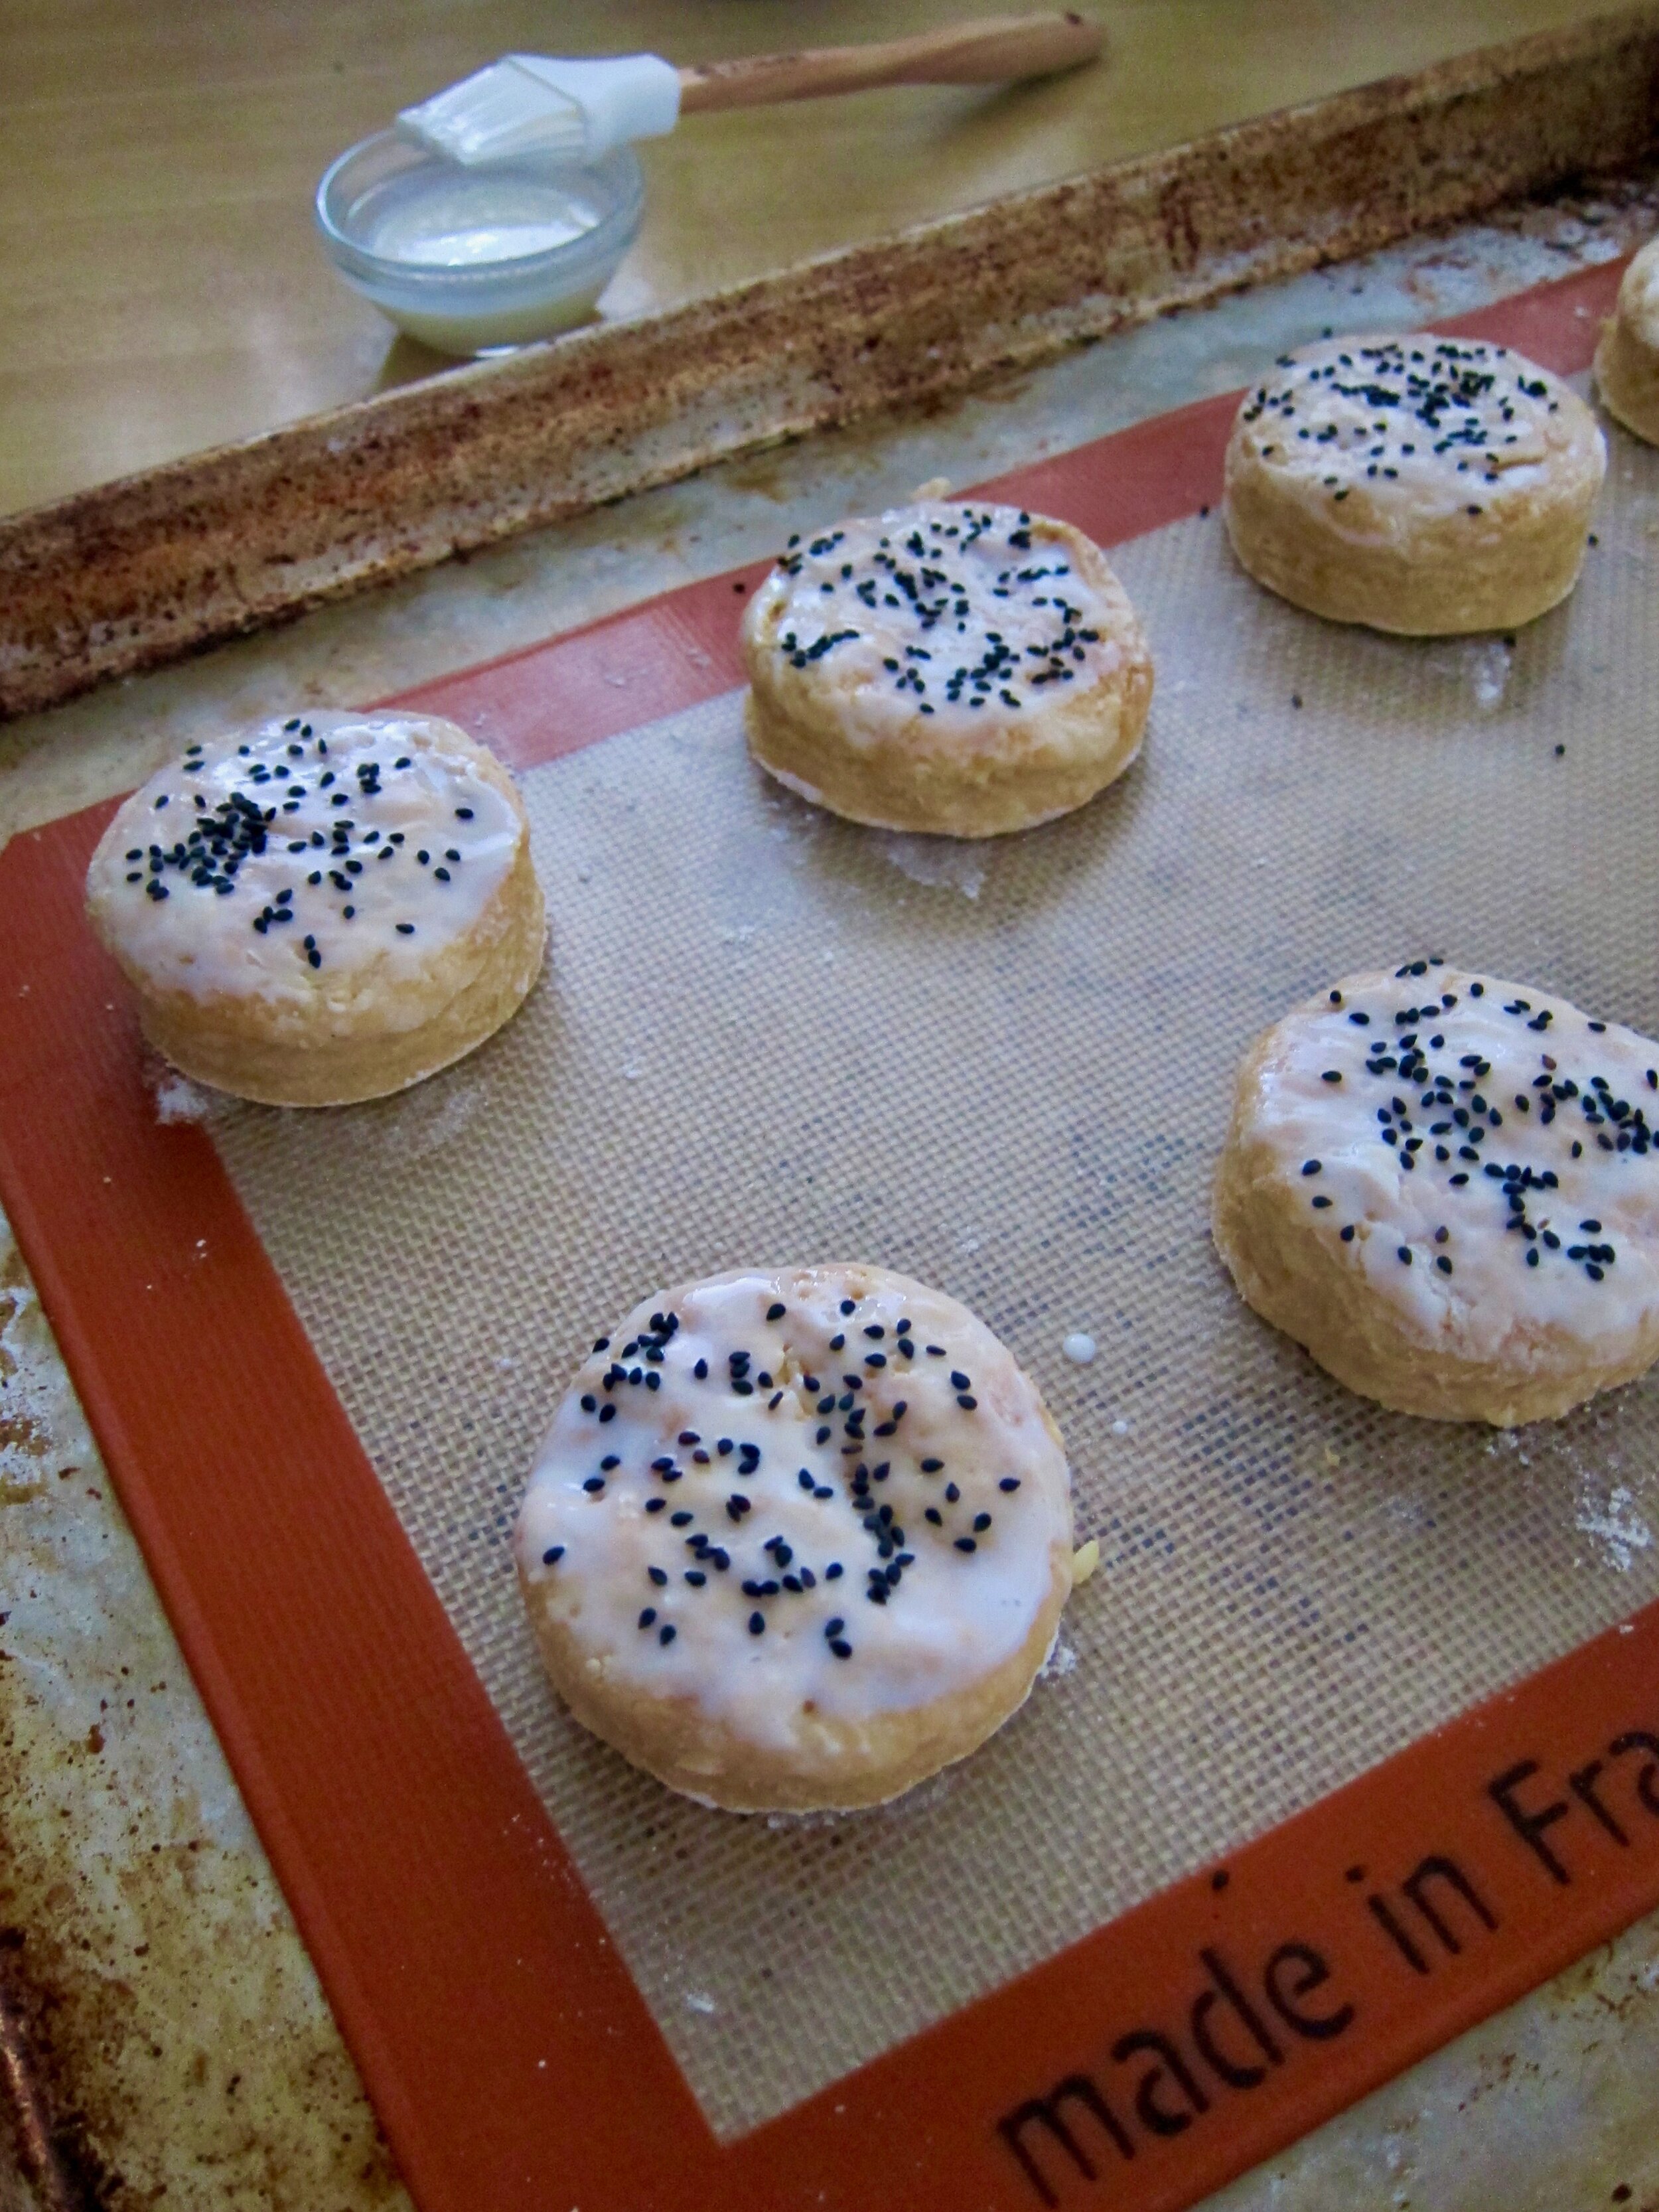
brushed biscuits.jpeg
cooling biscuits
burnt honey biscuits

Burnt Honey Butter Biscuits

These have a few steps, but the key is to not over cook the honey and make sure the biscuit dough goes into the oven as cold as possible, so your whipped honey butter doesn’t leak out and burn.

For the biscuits:

  • 100 g burnt honey butter, chilled (recipe below)

  • 300 g all purpose flour

  • 1/2 tsp kosher salt

  • 1 1/2 tsp baking powder

  • 200 g buttermilk, plus more for brushing

  • Sesame seeds, for garnish (optional)

Burnt Honey Butter (adapted from Christina Tosi)

  • 1/4 cup honey

  • 1 stick unsalted butter, cut into chunks

  • 1/2 tsp kosher salt

  1. Make the honey butter: clip a candy thermometer into a medium pot (a fairly deep one, this honey will at least triple in volume while cooking). Heat the honey over medium-high heat until it turns a dark amber color and/or reaches 325 degrees. I found that with 1/4 cup of honey, getting an accurate measurement of the temperature was tricky, so use the 325 as an upper ceiling, but use your eyes and nose. If the honey starts to smoke or smell burnt instead of nutty/caramelized, take it off immediately. Ideally, you don’t want to get it that dark, it will just taste acrid instead of bitter. For me, the sweet spot was about 7-8 minutes.

  2. Remove honey from heat and immediately add the butter pieces and salt, and whisk to combine. Keep whisking to melt any pieces that seized, until you have a smooth mixture. Transfer to a bowl and chill, covered, until solid.

  3. Once solid, whip on medium-high speed in a mixer until light in color. It’s ok if there are a few shards of solid honey but remove any big ones. These will just leak out of your biscuits and burn (trust me). Return the whipped butter to the fridge to chill until needed.

  4. Make the biscuits: In a large bowl, whisk together the flour, salt and baking powder, then rub the chilled butter into the flour, flattening the pieces until you have a coarse mixture with “flakes” of butter no smaller than peas, but you want some shaggy, big pieces too. Add in the buttermilk and mix to combine, just until it comes together. It’s ok if looks shaggy and there are still some dry bits at this point.

  5. Turn the dough out on to a lightly floured counter and press and knead the dough and any dry pieces into a round. Roll the dough out until about 1/2 inch thick, and use a 2 1/4-inch cutter to punch out 8 biscuits. To get the last 1 or 2 biscuits, gather the remaining scraps and mold pieces together in the biscuit cutter to create a 1/2 inch thick round, handling as little as necessary.

  6. Place biscuits on a parchment lined baking sheet, brush with a bit of buttermilk, sprinkle with sesame seeds, if using. Transfer to the fridge to chill for at least 30 minutes, while you preheat the oven to 400 degrees.

  7. Bake for 15-20 minutes, until dark golden and tall. Serve immediately or at room temp with more butter, apple butter, or another sweet jam, or even mustard!

In Recipes Tags Sides & Appetizers, Breakfast
Comment
Older Posts →

For those who plan their next meal while eating the last.


INSTAGRAM

🎶When pizza’s on a bagel*, you can have pizza anytime**!🎶

*donut
** after you fry some donuts
FINALLY perfected these Burnt Honey Butter Biscuits & what good timing! It’s carb season & we are all hibernating! 🐻
Final thoughts on Small Thanksgiving: take your sweet potato + marshmallow combo firmly into dessert or even breakfast, and consider a cozy mashed potato soup with stuffing croutons to use up those leftovers. Stay safe & Happy Thanksgiving! 😷🦃
Part 2 of Small Thanksgiving: all the stuff to stuff yourself with! An Italian sausage pasta-inspired stuffing and a vegetarian, spiced wild rice stuffed squash. Everything serves 4-6, gather safely this year! 😷🦃 #thanksgiving #smallthanksgiving #v
Now that we (and the world?) can let out that collective sigh of relief, I can  finally think about my favorite holiday! Everyone is probably (hopefully 😷)looking at smaller gatherings this year, so I’m sending some Small Thanksgiving ideas ou
So happy Disney keeps justifying my dumb baking purchases! This matcha shortbread is delicious, but make a good sandwich cookie it does not. I hid all the broken pieces 🙈
Subscribe to Tea and Fog!

RECENT RECIPES

Featured
polenta with rosemary and goat cheese.jpeg
Salmon Wellington and Warm Rice Salad.jpeg
Pizza Donut Hero.jpeg
Burnt Honey Butter Biscuits.jpeg
Mashed Potato Soup with Stuffing croutons.jpeg
sweet potato donuts with marshmallow frosting.jpeg